
Supercharge Your Miata: Complete Guide
Want more power from your Miata without sacrificing drivability? Supercharger delivers instant torque boosting performance!


Everybody wants more HP’s, especially with how stock Miata’s are spec’ed. Many Miata enthusiasts eventually find themselves wishing for more power, especially those who frequent track days or simply enjoy spirited driving on back roads. One of the most effective ways to achieve this power bump without sacrificing the car’s signature linear feel is by adding a supercharger.
Unlike a turbocharger, which relies on exhaust gases to generate boost, a supercharger is belt-driven by the crankshaft. This direct drive allows for instant power delivery and practically eliminates lag. While turbo setups can produce greater peak horsepower, superchargers preserve the Miata’s OEM-like drivability, offering immediate torque throughout the rev range. In this guide, we’ll explore why you might want to supercharge your Miata, what to consider when choosing a kit, and how to handle the installation and tuning process for maximum reliability and performance.
Planning & Research
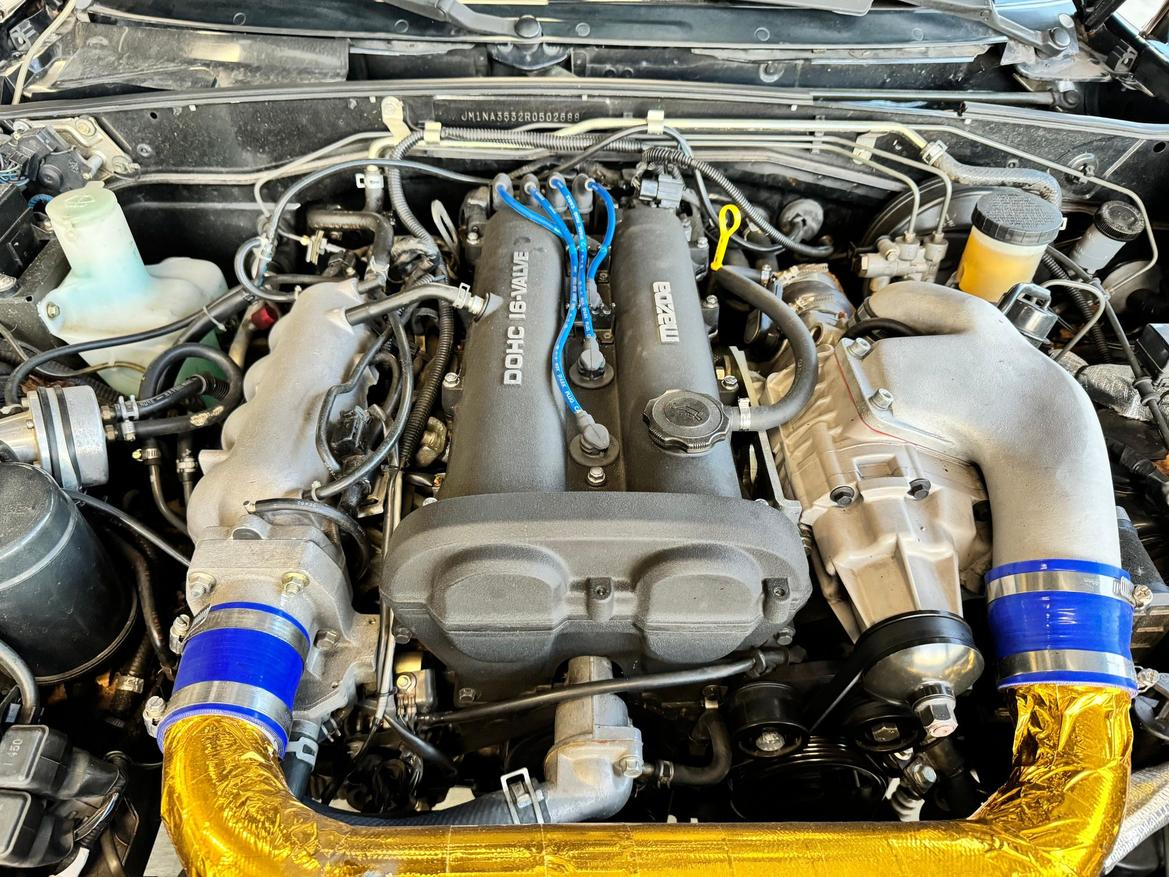
Before supercharging any Miata, whether it’s an older NA or a newer ND, it’s crucial to assess the health of your engine. For higher-mileage or older vehicles, begin by performing a compression and leak-down test. If compression is uneven or too low in any cylinder, address those issues (e.g., worn piston rings or leaky valve seals) before adding forced induction. Alongside these tests, take care of general maintenance tasks such as checking the cooling system, inspecting or replacing spark plugs (and wires or coil packs, depending on the generation), and switching to a high-quality synthetic oil.
Next, consider which type of supercharger kit best suits your goals and budget. Eaton (Roots/TVS) style units, common in ND Miatas (like the Edelbrock kit), deliver instant torque by replacing the intake manifold. Rotrex (centrifugal) superchargers, popular on NC Miatas (from manufacturers such as Kraftwerks or Corten-Miller), provide robust top-end power but require meticulous belt alignment. Older kits like the Flying Miata MP62 may also pop up on the used market. Factor in the cost of supporting modifications, especially an upgraded clutch if you plan on exceeding 200–220 wheel horsepower, or if you’re pushing toward the 300+ mark.
Tools & Equipment Needed
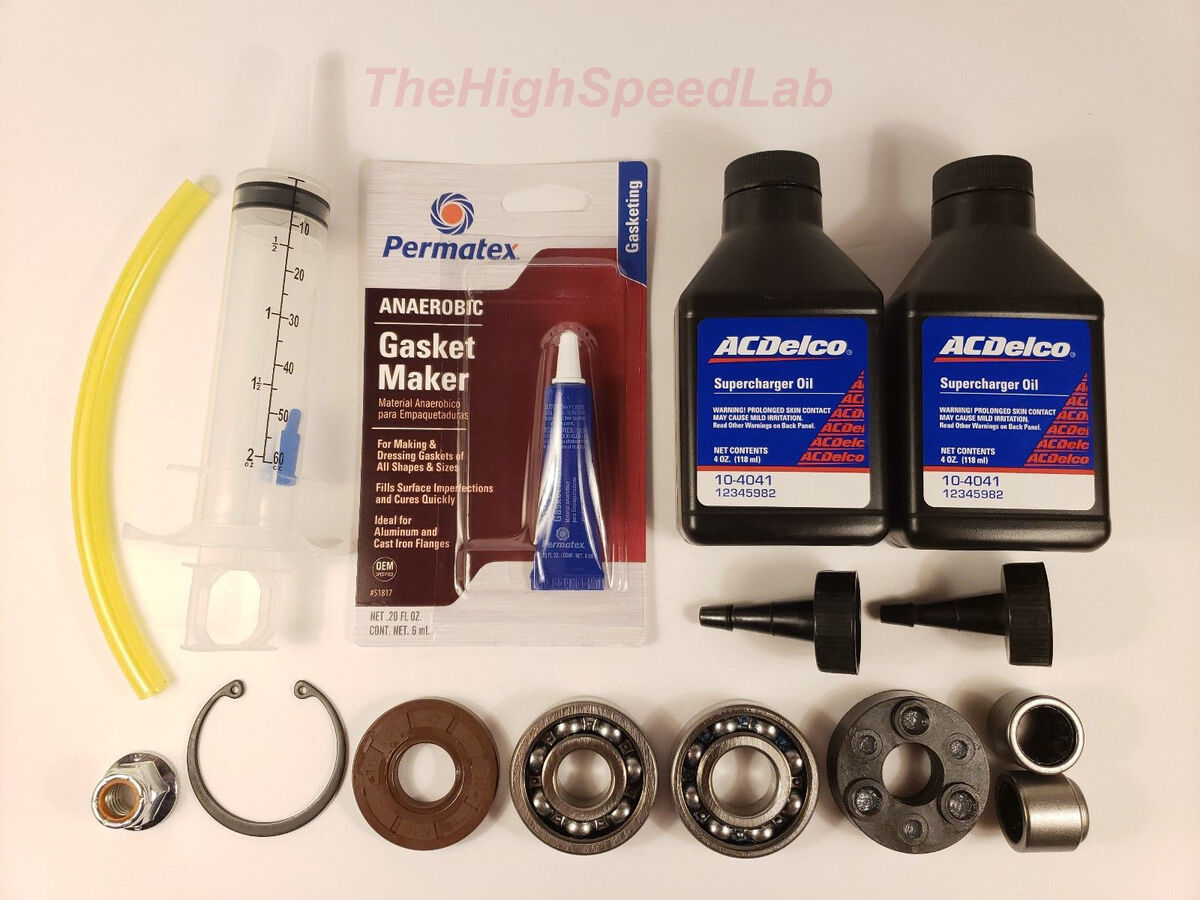
Having the right tools on hand makes the installation process far smoother. A basic metric mechanic’s toolkit with socket sets, torque wrenches, assorted wrenches, and screwdrivers is essential. Specialty items may include a pulley removal/installation tool, Torx or Allen bits, and a method to measure belt tension (if the kit lacks an automatic tensioner). For lifting the car, use a sturdy floor jack and jack stands or, ideally, a full car lift. Don’t forget safety equipment such as wheel chocks to keep the car securely in place. Stock up on consumables like thread locker, hose clamps, fresh coolant, and supercharger oil (particularly for Rotrex units).
Disassembly & Prep Work
The actual installation begins with some disassembly. Disconnect the battery, negative terminal first, then positive, to prevent any electrical mishaps. With some kits (for instance, the Edelbrock system for ND Miatas), you might need to flash the ECU with a base map before physically installing the supercharger. Follow your kit’s instructions precisely for this initial tuning step.
Remove the stock air intake, including the factory airbox and any resonator tubes, labeling hoses and connectors as you go. For NC or ND models, many supercharger kits replace the entire intake manifold, so you’ll likely need to remove the stock manifold. Pay attention to gaskets; your kit may reuse OEM gaskets or provide new ones. If your setup is intercooled, prepare to remove the front bumper to install or modify cooling components, such as a heat exchanger or intercooler core.
Supercharger Installation
Installing the supercharger involves mounting brackets, the supercharger unit itself, and configuring the pulley and belt system. First, bolt on any brackets, ensuring you follow the manufacturer’s torque specs. Some kits require shims or spacers to align the supercharger pulley with the crank pulley. Double-check this alignment with a straightedge, proper pulley alignment is crucial to avoid belt slip.
When placing the supercharger into the engine bay, proceed carefully to avoid damaging hoses or wiring. Secure it with the provided hardware, typically threading bolts by hand first to prevent cross-threading. You’ll often need to reroute the PCV or crank breather line to a port on the supercharger inlet or the new intake tubing. Next, if you’re swapping pulleys for a specific boost level, note that a smaller pulley increases boost but also the stress on engine internals.
If your kit includes an intercooler or aftercooler, mount the core behind the bumper and route the piping to and from the supercharger outlet and the throttle body. Avoid sharp bends or tight spots where hoses may kink or rub against metal edges. In water-to-air setups, mount the auxiliary pump and mini radiator (heat exchanger), fill the reservoir with the correct coolant mix, and bleed the system of any air pockets.
ECU Tuning & First Start
Many supercharger kits come with a handheld tuner loaded with a base map. Alternatively, you may email your ECU file to a remote tuner who’ll adjust fueling, ignition timing, and other parameters for forced induction. Carefully follow the instructions provided with your kit or tuner. Once the ECU is flashed, verify that every hose clamp is tight, belts are properly tensioned, and no wiring is pinched.
Upon the initial start, let the engine idle while keeping an eye on the temperature gauge and listening for odd noises. Watch for belt squealing (indicating misalignment or insufficient tension) or a hissing sound (often a vacuum leak). A brief rev to 2,000–3,000 RPM will help you check for belt slip under mild load. Shut the car off after this initial check and inspect under the hood for fluid leaks or any components touching where they shouldn’t.
Road Test & Final Adjustments
Take the car on a gentle, low-speed test drive to ensure everything runs smoothly. Watch for check-engine lights or abnormal engine behavior. Gradually increase throttle over multiple drives, paying attention to boost levels (if you have a gauge) and the air-fuel ratio (if you have an OBD-II scanner or wideband setup). Listen carefully for detonation or pinging, as forced induction is more prone to engine knock if the tune isn’t correct.
After a few test pulls, inspect the engine bay again. Look for any new leaks, hose movement, or belt wear. If you’re working with a remote tuner, data logging wide-open throttle runs in 3rd or 4th gear will help them fine-tune the ECU calibration. Adjust belt tension if you notice slippage or a drop in boost. If your kit offers interchangeable pulleys, switching to a slightly smaller or larger one can help you meet your target boost level.
Long-Term Maintenance
Supercharging adds significant stress to both the engine and drivetrain, so regular maintenance is key. If you have a Rotrex unit, plan on changing the proprietary supercharger fluid every 30,000–50,000 miles. Eaton-style TVS superchargers are often sealed for life, though occasional checks or oil replacements at extended intervals can’t hurt. Use high-quality synthetic engine oil, changing it more frequently if you track the car, and consider using colder spark plugs to reduce the risk of knock.
Inspect the supercharger belt for cracks and fraying at regular intervals, usually every oil change. Also pay attention to tensioners, idlers, and pulleys for signs of bearing wear. If you have a water-to-air intercooler, check fluid levels in the dedicated reservoir and watch for leaks. Routine inspections go a long way in preserving the reliability and performance of your forced-induction Miata.
Common Pitfalls & Troubleshooting
One of the most common issues with supercharged setups is belt slip, often caused by poor alignment or inadequate tension. This typically presents as a high-pitched squeal under boost or visibly lower boost numbers on a gauge. Vacuum or boost leaks may also crop up if couplers are not tightened properly or if hoses become disconnected. In such cases, the car might run lean or exhibit idle issues.
Overheating can be a problem if the cooling system is marginal or airflow to the radiator is blocked. Hard-driving Miata owners, especially those who track their cars, often install an upgraded radiator and oil cooler. PCV-related oil blow-by can be mitigated by adding a catch can or improving crankcase ventilation. Lastly, keep an ear out for detonation, which can quickly damage the engine. If you ever sense pinging or knock, let off the throttle and consult your tuner for adjustments.
Performance & Driving Impressions
A supercharged Miata can achieve 200 wheel horsepower or more in NA/NB applications and often breaks the 300 whp mark in NC/ND models with more advanced kits and supporting modifications. The beauty of a supercharger is the linear power delivery, it retains the car’s playful, responsive nature, merely amplifying it at every step of the rev range. Compared to a turbo, you’ll notice less surge and more consistent torque, making it feel very OEM-like in day-to-day driving.
On the track or autocross course, the added power provides stronger corner exits and a punchier mid-range. Ensure your tires, brakes, and suspension are up to the challenge, as newfound horsepower can quickly overwhelm stock components. Many owners find the supercharger route perfect for creating a well-rounded, fun-to-drive Miata that remains approachable in everyday situations.
By supercharging a Miata, you breathe fresh life into an already beloved platform, maintaining its lightweight, well-balanced character while adding the horsepower so many enthusiasts crave. The key is thorough preparation: perform your maintenance checks, ensure proper installation, and invest in a high-quality tune. Cutting corners can lead to frustration and mechanical troubles down the road, while a carefully executed build can deliver years of reliable, smile-inducing performance.
If you’re considering a supercharger kit for your Miata, research thoroughly, consult with online forums and local clubs for additional guidance, and never underestimate the importance of periodic inspections. As you progress, feel free to add optional upgrades like a big-brake kit, suspension enhancements, or even a limited-slip differential if you push your Miata on the track. Above all, enjoy the ride, there are few things more thrilling than piloting a supercharged Miata along a winding road or around a tight corner, harnessing the satisfying blend of agility and newfound power.


