
Smart-Key & Push-Start Conversions for NA/NB Roadsters
A simple push-start keeps the key for ACC/IGN and uses a button only for cranking. RFID systems go further, letting you skip the key entirely and start with an authorized tag. Add Passive Keyless Entry and you get proximity lock/unlock and alarm features—easy to wire on NA/NB Miatas.


A simple push-start keeps the factory key doing the heavy lifting. You still turn the key to ACC and IGN, but a momentary button handles only the “START” function so you don’t twist the key to crank. The classic example is the S2000-style button mounted on a dash blank with a small relay added behind the scenes.
An RFID smart-key with push-start lets you skip turning the key entirely. An add-on controller senses an authorized RFID tag and, when you press the button, it energizes ACC, then IGN, and finally START. This gives you the “keyless start” experience without changing the ECU or anything fancy on the engine side.
Passive Keyless Entry (PKE) stacks on proximity lock/unlock and alarm features. You add proximity antennas, tie into the door locks, and route a few more wires. It’s extra work compared with RFID-only, but still very doable on NA/NB because these cars use straightforward 12-volt switched circuits and aren’t fussy about CAN.
Compatibility: NA vs. NB
Both generations use simple switched-12V ignition circuits, so all three paths work. If you only want the look and feel of a start button without changing how the car powers up, there are plug-and-play starter button kits for NB, and plenty of documented NA and NB installs showing clean mounting locations and relay wiring. The important bit is that neither generation needs special network messages to start; you’re just replacing or augmenting the mechanical key switch logic.

The Wiring You’ll Touch
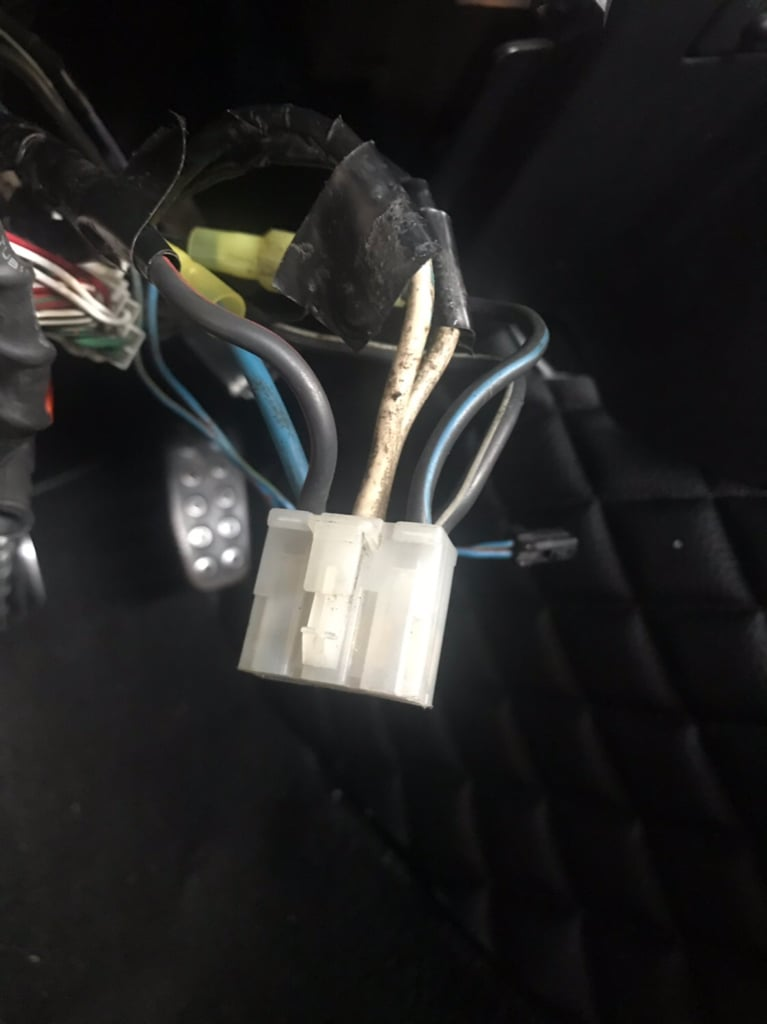
Everything happens at the ignition switch harness. You’ll interact with three circuits: ACC for accessories, IGN or IG1 for ignition-on power, and START for the crank signal that drives the starter relay or solenoid. For a basic button, you tie the momentary switch to a relay that parallels the factory START lead so ACC and IGN still come from the key. For RFID or PKE, the module’s internal relays will switch ACC, IGN, and START themselves, so the key stays parked. Always verify wire identity on your specific year with a meter and a wiring diagram before cutting, since colors can vary across model years and markets.
Simple Starter Button (keep the key)
This is the most reversible path. You mount a momentary button on a sturdy panel blank and wire it to a 30-amp SPDT relay that feeds the factory START lead. The key still turns to ON as before; the button only cranks the engine. It’s a half-day project with light trim removal, a couple of spade terminals, an inline fuse from a clean 12V source, and a proper chassis ground. It feels OEM if you reinforce the mounting spot and loom your wiring neatly.
RFID Smart-Key + Push-Start (no key turn)
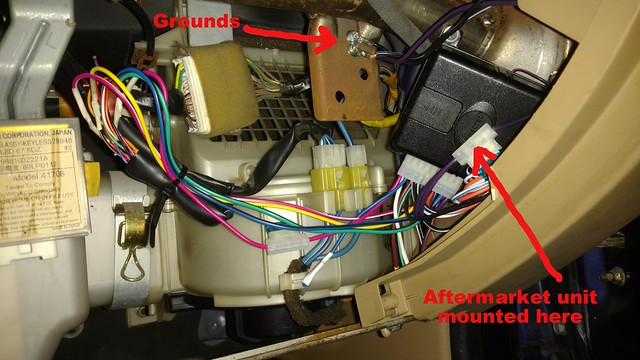
Here the controller handles ACC, IGN, and START when an authorized tag is present. You hide the control box behind the dash, place the antenna near the column, mount the start button where it’s comfortable, and stash a valet/override switch within reach. Wiring means intercepting the Miata’s ACC, IGN, and START at the ignition harness, feeding power and ground to the module, and connecting its clutch or brake input so it only cranks when the pedal is pressed. Plan for a full day if it’s your first time, mostly for tidy routing, labeling, and testing.
PKE + Push-Start + Alarm
This builds on the RFID setup and adds proximity lock/unlock, siren and sensor inputs, and sometimes a hood switch. If your NA/NB doesn’t have power locks, add universal actuators in each door and run harnesses through the factory boots. You’ll also place proximity antennas so they aren’t blocked by metal and don’t false-trigger. Expect a solid weekend if you’re doing actuators, antennas, and a full alarm in one go.
Keep These Safety Interlocks
Preserve the clutch interlock so the starter won’t energize unless the clutch is down. You can do this by keeping the factory clutch switch in series with your new start relay or by feeding the kit’s dedicated “clutch/brake” input from the Miata’s clutch switch. Also remember the mechanical steering-column lock. If you stop turning the key, you still need to unlock the wheel before you can drive. Many owners simply keep the key to unlock the column; some mechanically disable the lock, but that has legal and safety implications you should research. Remote start on manual cars is generally not recommended unless the kit specifically supports safe manual-trans procedures; most folks skip it.
NA/NB Fitment Notes
Both cars have good button real estate. NA owners often use the blank to the left of the column or a spot on the tombstone, while NB owners typically tap the lower switch panel near the lighter. To reach the ignition harness, pull the lower column shroud and drop the trim; there’s room behind the radio stack and dash cross-brace to mount modules. If you’re going for a “factory” vibe, reinforce thin plastic with a backing plate so the button doesn’t flex when pressed.
Clean-Install How To
Start with power distribution. Use a fused, dedicated 12V feed for new relays or modules rather than piggy-backing heavy current on the OEM IGN line. Mount the button to a rigid panel with a backing bracket and use thread-locker on the bezel nut if the design has one. Keep modules away from heater ducts and metal brackets that can detune RFID antennas; test antenna position before final assembly so range feels natural. Star-ground your additions to a known clean body point. Loom everything with fabric tape, protect pass-throughs with grommets, and leave service loops so the tombstone and column covers can be removed in the future. Label both ends of every new wire and stash a mini diagram in the glovebox.
Step-By-Step
For an S2000-style button: remove trim, mark and drill the panel, mount the button with a backing plate, and wire a relay that parallels the factory START lead. Feed the relay from a fused 12V source, send the relay output to the Miata’s START wire, and run the relay coil through the button to ground. Test with the key in ON and the clutch down, then button up the trim.
For an RFID smart-key: mount the control box, button, antenna, valet switch, and status LED. Intercept ACC, IGN, and START at the ignition harness and route them through the module’s harness. Connect power, ground, and the clutch/brake input. Program the tags, then verify the button cycles OFF to ACC to IGN to START only when a tag is present.
For PKE: complete the RFID install, then add door actuators if needed, run lock and unlock wires, mount the proximity antennas, and install the siren and hood switch. Calibrate proximity sensitivity so it doesn’t unlock too early or too late, and test alarm triggers and override behavior before reassembling the doors.
Budget, Time, and Difficulty
The simple button is the cheapest and quickest, typically forty to a hundred dollars in parts and an afternoon of careful work. RFID smart-key kits live in the thirty to sixty dollar range, but you’ll spend more time routing and dressing the harnesses, so block a day. A PKE plus alarm build varies widely depending on options and whether you’re adding power locks, but expect something in the sixty to one-fifty-plus range and a weekend if you want it tidy.
A no-crank with a freshly wired button usually points to the clutch interlock path not being preserved, or the relay coil not seeing a clean ground. Accessory back-feed happens when ACC and IGN aren’t isolated; follow the kit’s diagram and use separate relay contacts or diodes where required. Weird RFID range is almost always antenna placement; get it away from metal and HVAC ducts and test with the dash loose. If the column is still locked because you’re no longer turning the key, decide your routine up front so you’re not stuck in the driveway.
This works fine with aftermarket ECUs because you’re only changing how ACC, IGN, and START are commanded; the ECU just wants stable IGN and a crank signal like stock. US-market NA/NB cars generally didn’t use a transponder immobilizer, so the “immobilizer” behavior you gain comes from the RFID or PKE module itself. True plug-and-play smart-key kits specific to Miata are rare; most people use universal controllers. If you only want the push-to-start look, NB-specific plug-and-play buttons exist, but they don’t provide full smart-key or PKE functions.


