
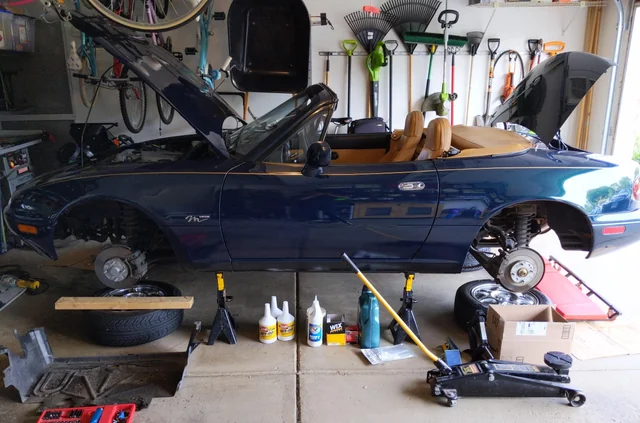
NA Miata 100k-Mile Preventive Refresh
At 100k miles—or 25–35 years—rubber, seals, bearings, plastics, hydraulics, and fluids are aging out even if the Miata “runs fine.” A full refresh resets those weak links so the car becomes boringly reliable again


At around 100,000 miles, and honestly, at 25–35 years of age, rubber, seals, bearings, cooling plastics, hydraulics, and fluids are past their prime even if the car “runs fine.” This refresh resets age- and wear-sensitive parts so the car becomes boringly reliable again: no surprise overheating, no clutch hydraulics drama, no mystery oil drips, and handling that feels tight and predictable. Think of it as setting up the next 60–100k miles on your terms.
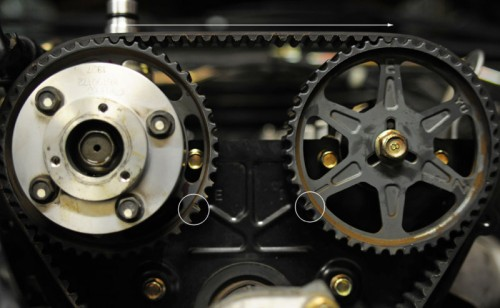
Timing Belt and Front Engine Seals
Do the timing belt, tensioner and idler(s), water pump, thermostat, accessory belts, and the front cam and crank seals together. Real-world interval is about 60k miles. Both 1.6 and 1.8 NA engines are non-interference, so a snapped belt usually won’t bend valves, but it will leave you stranded and can shift timing. If you have a short-nose crank (1990 to early ’91), inspect the crank snout, keyway, and pulley runout, then torque the crank bolt properly to avoid wobble. Replacing the water pump now avoids paying the same labor twice later.
Cooling System Reset
Age kills plastic tanks and hoses. Replace a browned or original radiator, all coolant hoses including heater hoses, the radiator cap, and refill with fresh long-life coolant. The factory plastic top tank tends to fade from black to green-brown/yellow before it cracks, so many owners swap proactively once discoloration shows. If you’ve had a CAS leak, check the nearby heater hose, oil can soften it. After reassembly, make sure the fins aren’t blocked and bleed the system carefully so there are no hot spots.
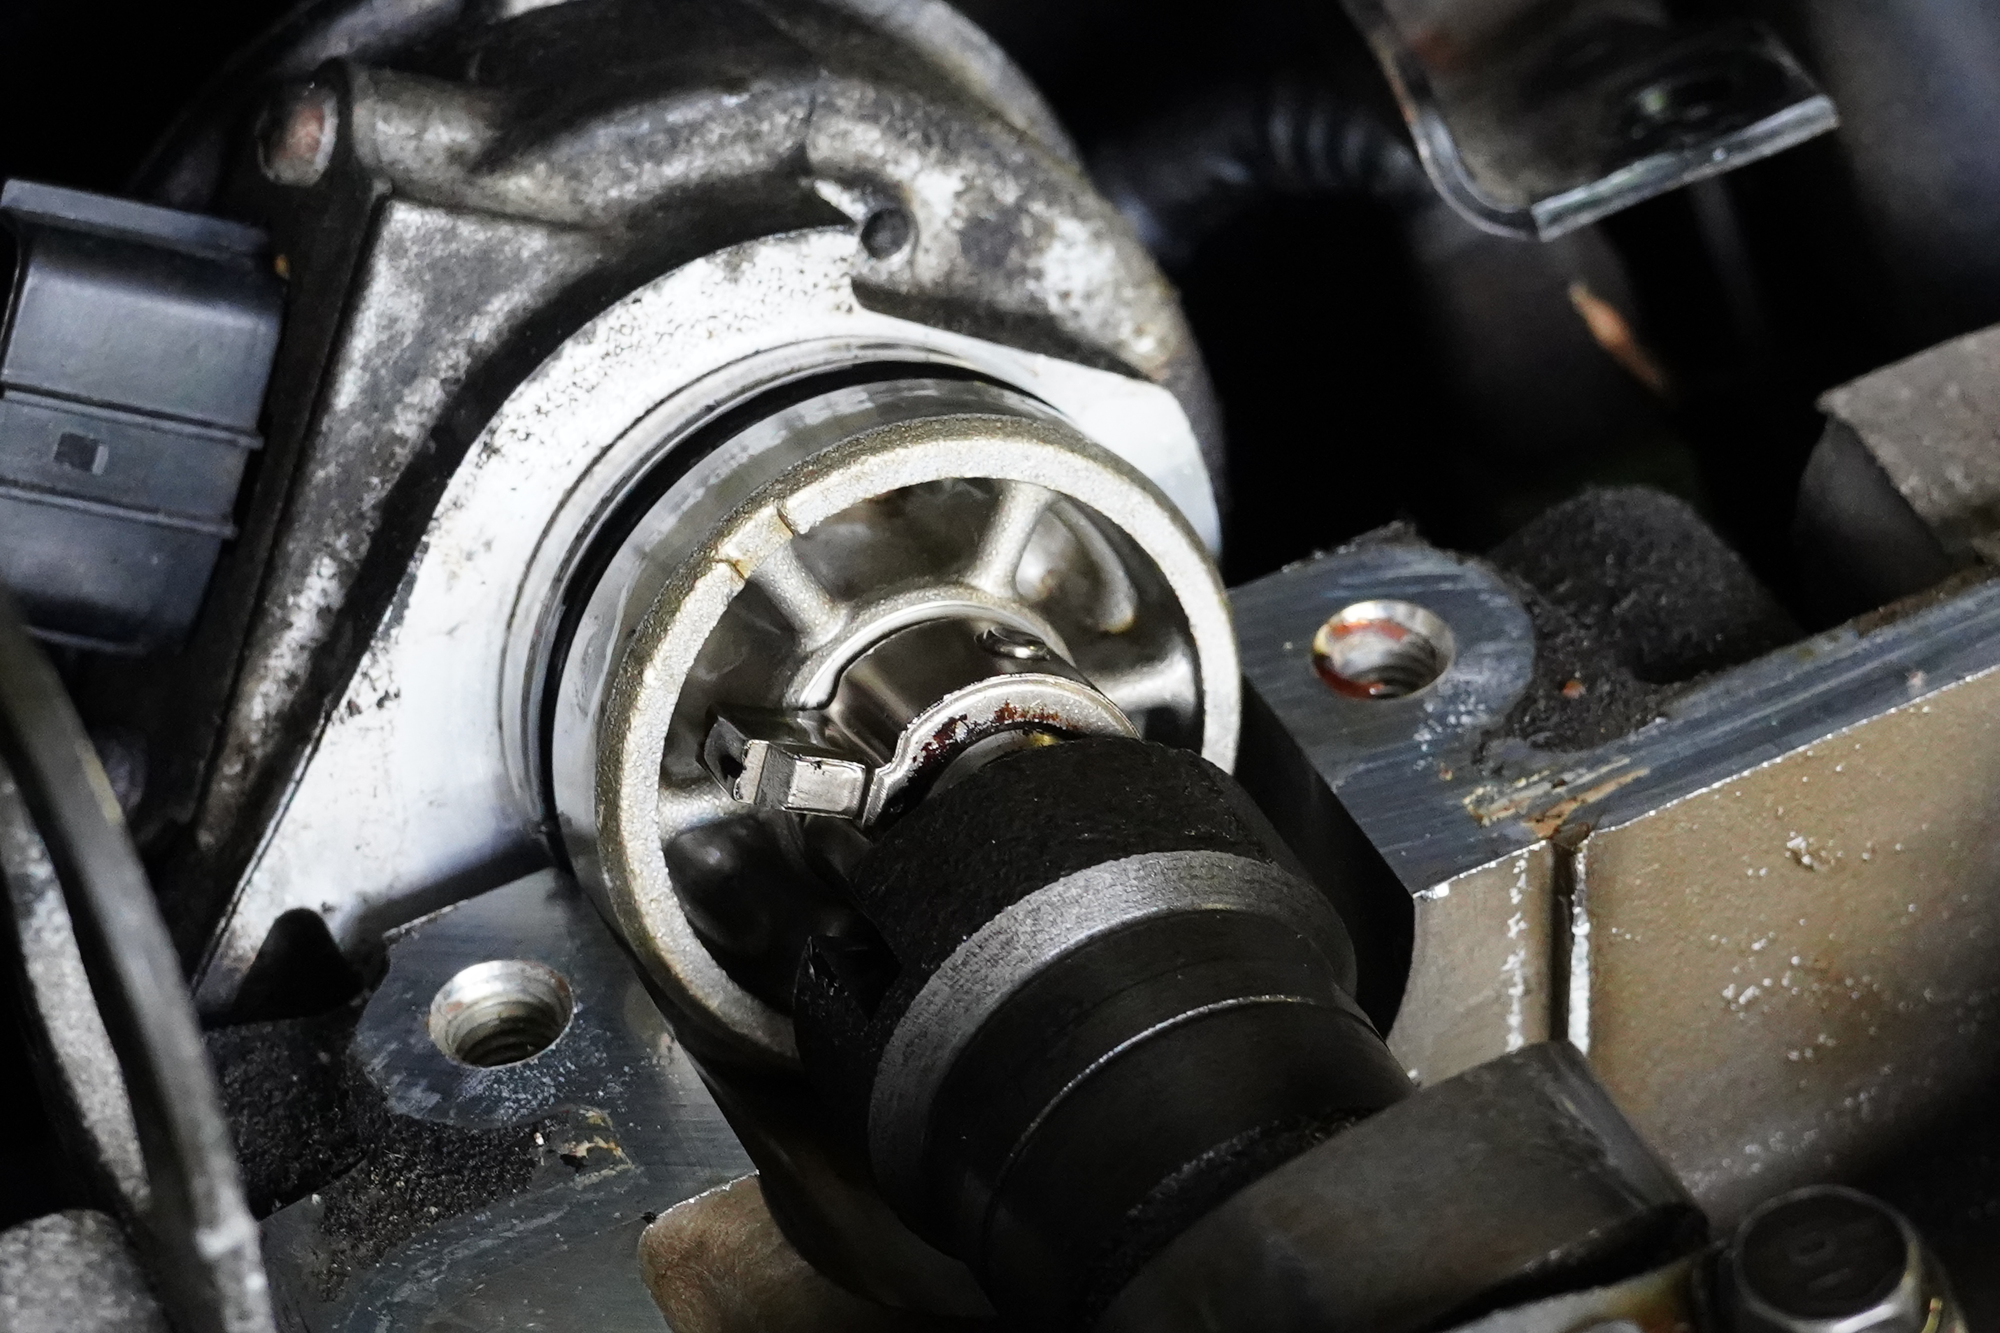
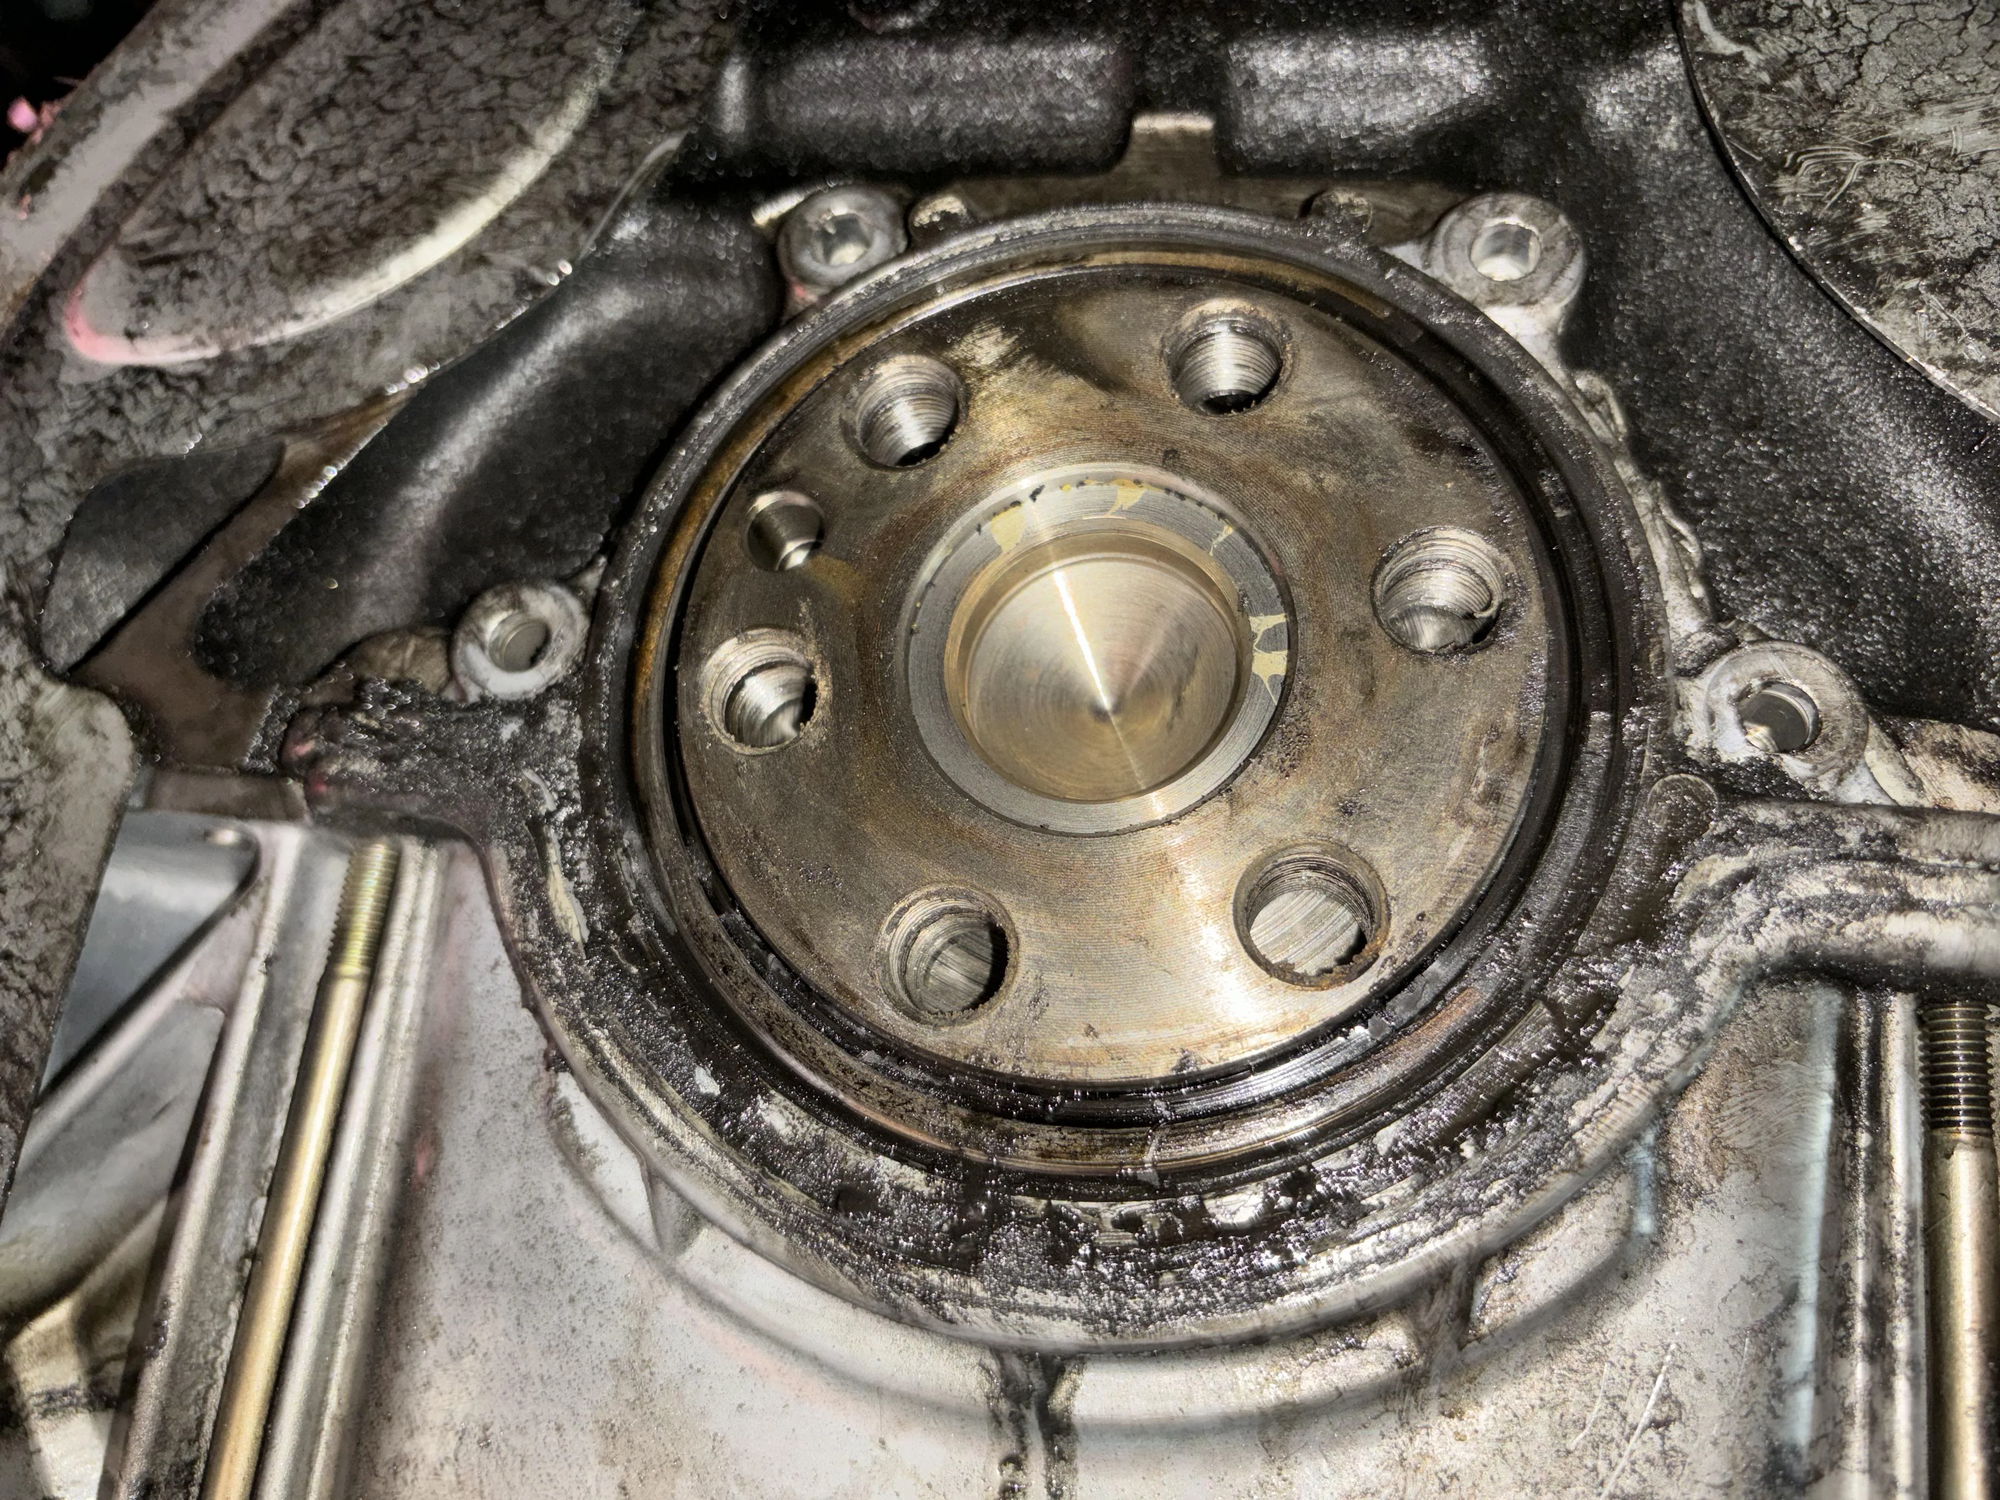
CAS O-Ring an Valve Cover Gasket
That oily film down the back of the head is almost always the Cam Angle Sensor O-ring. Mark the CAS position so timing doesn’t wander, replace the O-ring, clean the area, and inspect the heater hose directly beneath it. If the valve cover gasket is weeping, change it at the same time.
Ignition and Air/Fuel Baseline
At 100k, assume uncertain history and refresh the cheap stuff: spark plugs (properly gapped), quality plug wires, PCV valve, and air filter. If the fuel filter’s age is unknown, replace it for peace of mind.
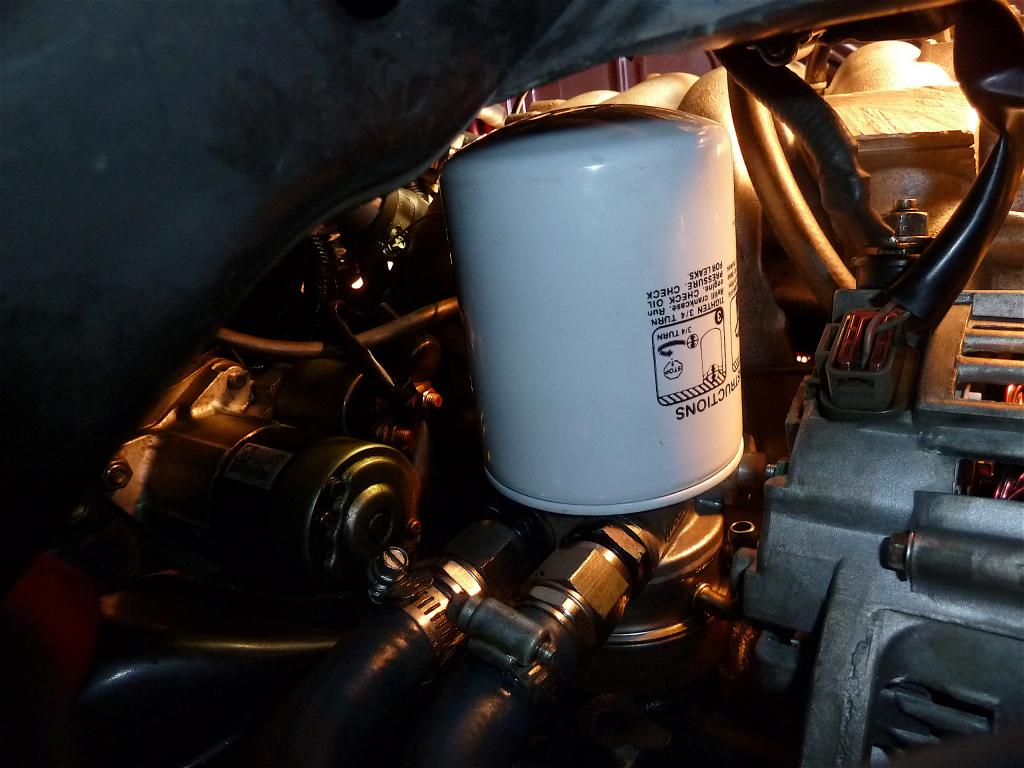
Fluids Everywhere
Do a full fluid reset. Change engine oil and filter, refill coolant after the cooling refresh, and service the manual transmission and differential with fresh gear oil (more frequently if you track the car). Flush brake and clutch fluid since moisture content creeps up over time. For NA cars, refresh the shifter turret oil and both inner and outer shift boots, the turret dries out and torn boots make the shifter feel sloppy; a small dose of 75W-90 in the cup brings back that crisp feel.
Clutch Hydraulics
Original master and slave cylinders often fail with age. If you don’t know their history, replace both and bleed the system. Typical symptoms include a sinking pedal, inconsistent engagement, or a slave cylinder quietly holding fluid inside its rubber boot before it finally drips.
Brakes: Hoses, Sliders, Pads, and Rotors
If the rubber flex hoses are original, replace them (OEM rubber or stainless lines are both fine). Old hoses can bulge under pressure. Pull each caliper, clean and lubricate the slide pins, and rebuild or replace any dragging calipers. Fit fresh pads and rotors as needed and finish with a full bleed.
Suspension and Steering Tighten-Up
After decades, most suspension rubber is done. Inspect control-arm bushings for cracks or collapsed sleeves; choose new rubber for comfort or polyurethane for sharper response if you can live with a bit more NVH. Check lower ball joints and outer tie rods for play or torn boots, they’re safety-critical. If shocks are bouncy, leaking, or original, plan replacements with new mounts. Inspect differential and PPF bushings; excess play here causes clunks and driveline lash. Finish with a proper alignment that matches how you drive.
Driveline Seals and “While You’re There” Items
If the transmission is out for a clutch, consider a rear main seal. Inspect the transmission output seal and differential axle seals for weeps. Look at engine mounts for sagging or tears, which add vibration and odd shifter angles. Use factory procedures and torques during any front-of-engine work.
Grounds and Charging Health
Clean the engine-to-chassis grounds, verify alternator output, and test the battery and tie-down. These little items pay off in smoother idle, fewer sensor gremlins, and more consistent charging.
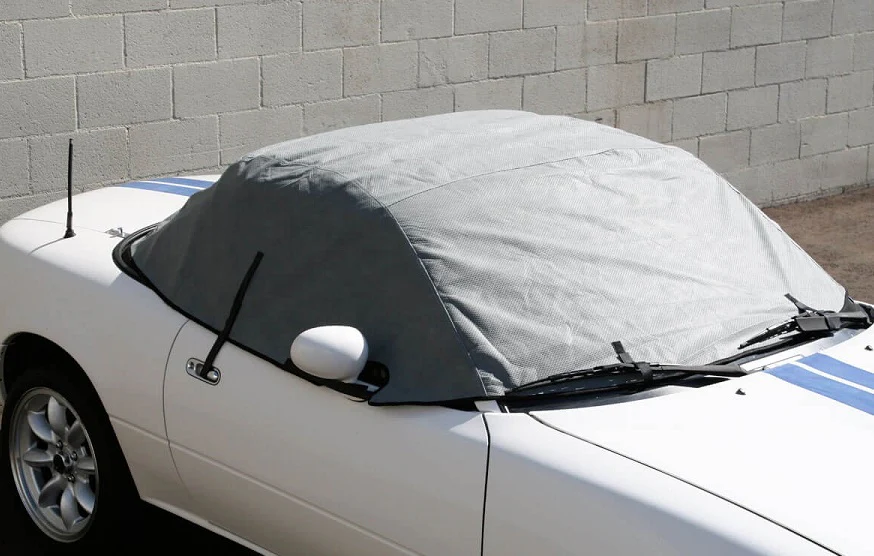
Body, Rust, and Soft-Top Check
NA rust hotspots include the rear rocker/sill ends, pinch-weld seams, the rear brake hard lines near the subframe area, and general underbody spots. Photograph what you find and decide what needs repair versus monitoring. Inspect the top and rain rail, clear the drains, and keep water out of the sills. While front frame-rail rot is more of an NB problem, inspect NA rails thoroughly anyway.
Test-Drive and Alignment Feel
After the refresh, bed the brakes, confirm the thermostat opens, fans cycle, temps stay stable, and there are no leaks. Then get a proper alignment. For a mild street setup, think roughly –1.2° front and –1.5° rear camber, about 5° caster, and a whisper of total rear toe-in. For a sport street/HPDE setup, aim nearer –2.5° front and –2.0° rear camber, zero front toe, and a small amount of rear toe-in. Choose based on how you use the car; track-biased camber can feel edgy on the street.
Smart Extras That Can Wait (But Pay Off Now)
Since you’re in there, replace accessory belts, fit a fresh radiator cap, and swap crusty fasteners. If you road-trip far from parts stores, toss a spare clutch slave cylinder and a CAS O-ring in the glovebox.


