
Miata Track Day Spares Kit: What to Pack
Track time isn’t cheap, and small failures can end a weekend. A smart Miata spares kit turns disasters into paddock fixes. Older NA/NB cars running hard need full kits; newer NC/ND cars on local day trips can start light with fluids, a bleed kit, pads, and tire tools, adding more as patterns emerge.


Track time is expensive, and tiny failures can end a weekend. A small, thought-out spares kit turns a “day over” into a quick paddock fix. If you drive long distances, run multiple sessions per day, or track older NA/NB cars with aging hydraulics and hubs, build a full kit. If you’re in a newer, well-maintained NC/ND doing local day-trips at a casual pace, you can start light, fluids, a bleed kit, front pads, and tire tools, and add items as you learn what your car tends to eat.
Before You Pack
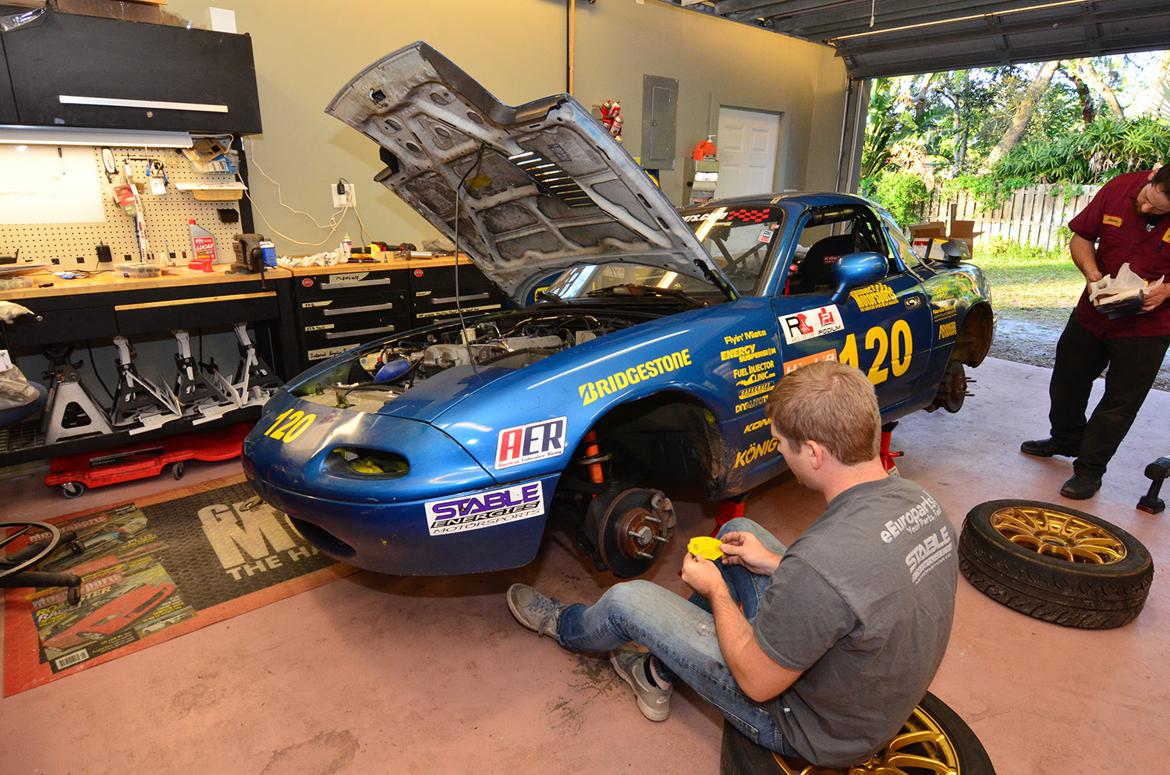
Fresh maintenance beats spares every time. The week before and the night prior, work through a simple tech sweep: torque critical fasteners, confirm pad life, flush high-temp brake fluid, inspect hoses and belts, and top fluids. Any time the car is on stands, do a quick hub check, rock the wheel at 12/6, spin and listen, and pay attention to sudden increases in pad knock-back. Practice the “likely” paddock jobs at home, front pad swap, quick bleed, and front hub change, so they’re 10–20 minute routines, not hour-long mysteries.
The Essentials
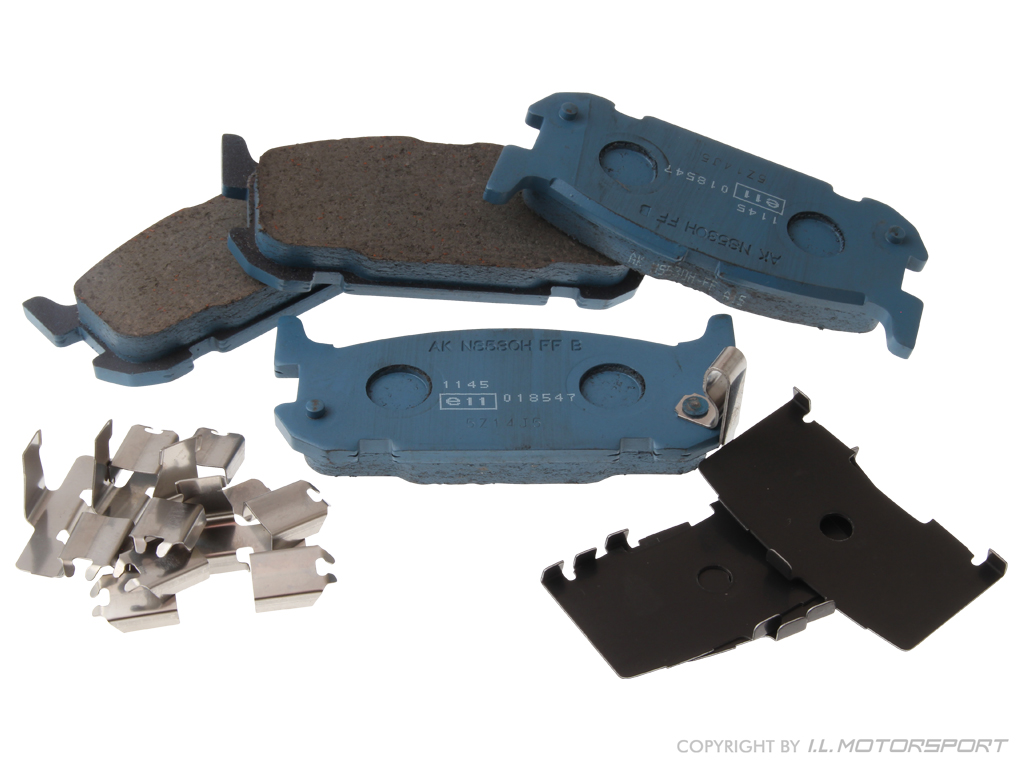
Pack one to two liters of high-temp brake fluid, a small hand bleeder, clear hose, and a catch bottle, plus a couple quarts of engine oil and distilled water for coolant top-offs. Bring a spare set of front pads in your track compound and, if you’re aggressive on brakes, one spare front rotor. Toss in extra lug nuts and a few valve-stem cores with caps. Round it out with fuses, zip-ties, duct and electrical tape, hose clamps, and a handful of common metric bolts and nuts. For tires, a plug kit, portable inflator, accurate gauge, and a tire marker or chalk cover most needs.
Miata-Specific High-Value Spares
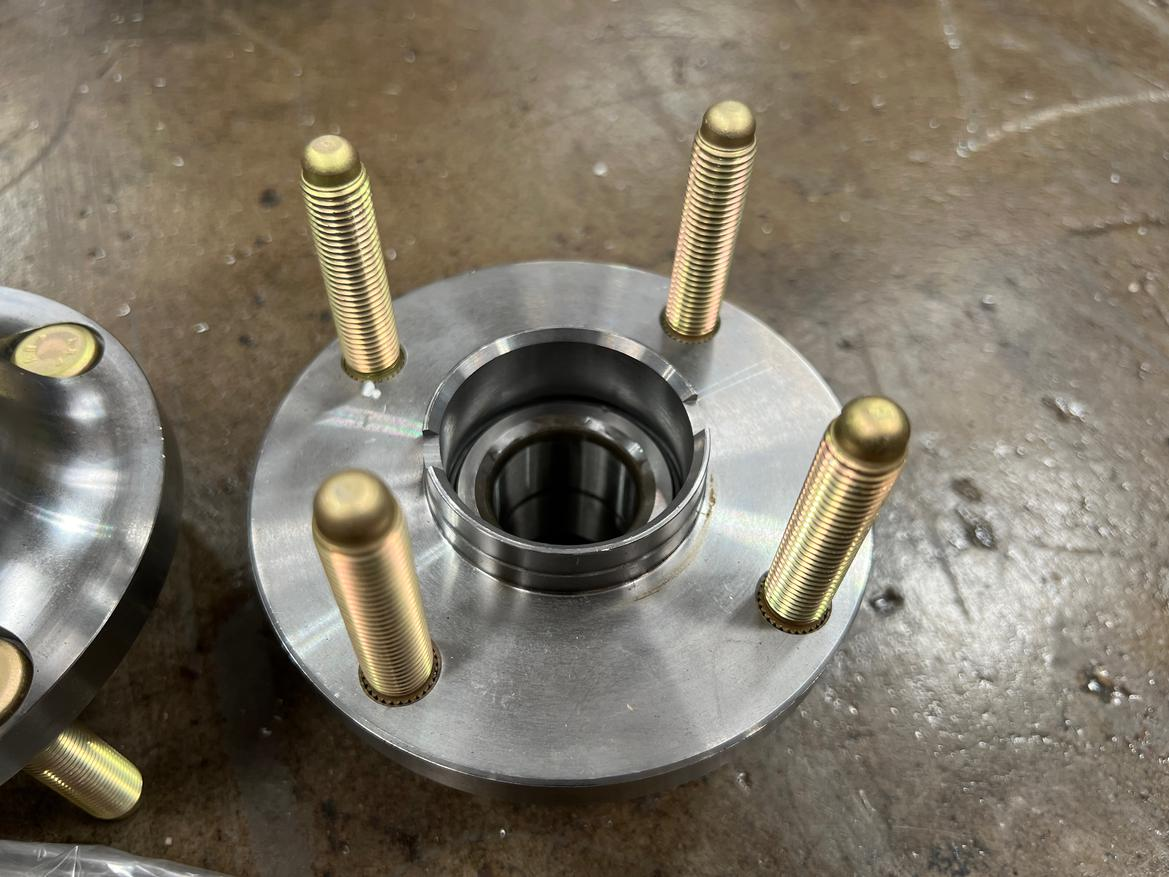
For NA/NB (and early NC awareness), your single highest-impact item is a known-good front hub or a clear plan to source one quickly. Many racers treat front hubs as consumables; if you’re burning through them, step up to a more robust solution. On NA/NB, carry a spare clutch slave cylinder, brake fluid, and line wrenches, the swap is quick if you’ve practiced the bleed. Keep a couple of short coolant bypass hoses and universal sleeves so a pinhole or cut doesn’t park you. Wheel studs fatigue from heat and frequent swaps, so bring a handful with matching nuts. Depending on your car, a CAS O-ring, spare coil pack, and a basic OBD scanner are cheap insurance.
Tools That Make Those Spares Useful
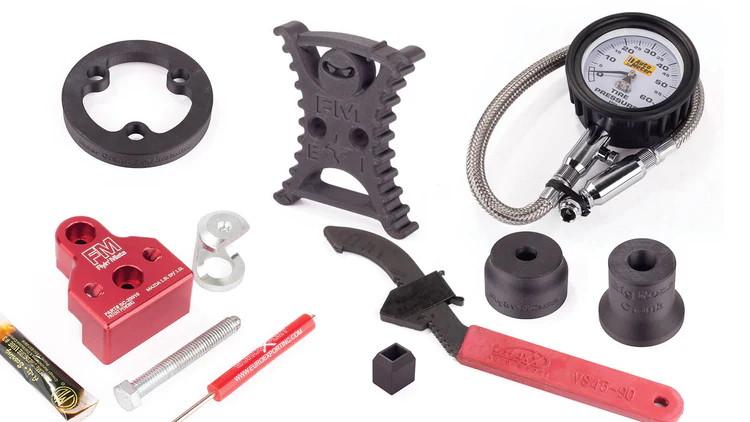
Pack the tools that unlock fast fixes. For brakes, a pad spreader, line wrench set, catch bottle with clear hose, and a compact bleeder keep pedal issues from spiraling. For hubs, bring the correct large axle/hub socket, breaker bar, torque wrench, pry bar, dead-blow hammer, and a tub of high-temp grease. Wheel and tire work go faster with a low-profile jack, sturdy stands, a cordless impact, and a torque stick. For electrical gremlins and quick repairs, a multimeter or test light, crimp kit, heat-shrink, spare fuses, tapes, and zip-ties handle most paddock surprises. Don’t forget the “comfort kit”: chair, cooler, rags, glass cleaner, and a Sharpie or notebook to track pressures and changes between sessions.
Tires, Brakes, and Hubs: The Wear Triangle
Treat these as a loop you check every session. Use chalk or a marker to read tire shoulders and adjust hot pressures with your pump and gauge. Keep an eye on pad thickness and be mentally ready to do a front pad swap midday at hotter events. For hubs, especially on NA/NB and early NC1, do regular 12/6 wiggle checks and listen for roughness. If you start cycling through ball-bearing hubs, consider stepping up to a more durable hub solution designed for repeated curbs and endurance duty.
Nice-to-Haves as Pace and Distance Increase
As you stack events or push harder, add a spare pair of rotors and a second full pad set, fresh belts for throttle and accessories, upper and lower radiator hoses, and a pre-bled clutch slave sealed in a bag (cap the ports to keep it clean). Include extra valve-stem cores with a core tool. ND drivers should keep a spare key-fob battery. These aren’t mandatory for beginners, but they’re frequent heroes on hotter, longer days.
Packing
Use a simple three-box system so you can find things fast: one crate for fluids and bleed/hydraulic items, one for electrical and fasteners, and one for wheels and tire tools. Label the lids. Stage the jack, stands, torque wrench, and impact where you can grab them immediately. After each session, do a quick rhythm: torque lugs, set pressures, glance at pad thickness, wiggle a front hub, and spot-check fluid levels. Small, consistent checks prevent big, time-sucking problems.
What Not to Overpack
If it takes ninety minutes to swap in the paddock, it’s not a session saver. Don’t bring every sensor or major component. Focus on the fast wins that repeatedly keep Miatas moving: brake fluid and a bleeder, front pads plus one rotor, a front-hub plan, a spare clutch slave and fluid, fresh studs and nuts, and a small electrical and fastener kit. That set rescues far more weekends than a trunk full of heavy, rarely used parts.
Upgraded Hubs
If your pace and curb usage are climbing and you’re chewing through stock-style hubs, the typical failure mode is bearing fatigue. That’s the cue to move to a heavier-duty hub solution built around roller or tapered bearings. It’s not a day-one purchase, but once you’re replacing fronts regularly, the upgrade pays for itself in uptime and confidence.
On arrival, stage the jack and stands, set the torque wrench out, and put the tire gauge, bleeder kit, and front pads where you can reach them. Between sessions, re-torque, set pressures, glance at pads, wiggle a hub, and spot-check fluids. If the pedal goes long, bleed the fronts first, assess for boiled fluid or pad taper, and consider knock-back from curb strikes. If engagement fades or gears grind on NA/NB, check under the clutch-slave boot for leaks, swap it, and re-bleed.
Begin with the core kit, then layer in the Miata-specific high-value pieces as your pace and event length grow. The winning pattern is simple and proven: brake fluid and bleeder, spare front pads and a rotor, a real plan for front hubs, a spare clutch slave, fresh studs and nuts, and the basic electrical and fastener consumables. That combination keeps NA–ND Miatas circulating while everyone else is loading up early.


