
Miata Rattle & Creak Map: Quieting Common Interior Noises
Chasing Miata rattles? Make the noise repeat first—30–40 km/h ripples, light throttle, roof latched/unlatched. Change one variable at a time, strip cargo, tape-test seams, finger-preload trim. Stock up on felt, Tesa tape, foam, silicone spray, PTFE lube, and fresh clips—OEM buzz-fix essentials.


Want to start getting rid of all that riding noise? Start by making the noise repeat on command. Try 30–40 km/h over small ripples, light throttle at 3–4k rpm, a diagonal driveway entry, windows ¼-down, and roof latched vs. unlatched. Note which changes affect the sound, then change only one thing at a time. Strip the cargo, tape-test panel seams, and finger-preload suspect trim while a friend drives. Have basic consumables ready: adhesive felt/BSR tape, Tesa harness tape, thin closed-cell foam, silicone spray for rubber, PTFE lube for pivots, Velcro straps, and fresh trim clips. These are the same materials OEMs use to kill buzz-squeak-rattle. Keep quick references handy for common Miata noise points, shifter turret service on NA/NB, ND/NC window and roof bulletins, and owner “noises” threads.
Steering Column, Cluster Binnacle & Eyeball Vents
Plasticky ticks and “tizz” near the gauge hood usually come from relaxed clips and plastic interfaces. With the engine at the offending rpm, lightly squeeze the column shrouds or press beside the cluster; if it quiets, you’ve found the interface. Pull the shrouds and binnacle, apply thin felt to clip posts and mating lips, and shim the eyeball vent tabs. Reseat spring clips with authority. These tiny felt shims often banish long-standing ticks.
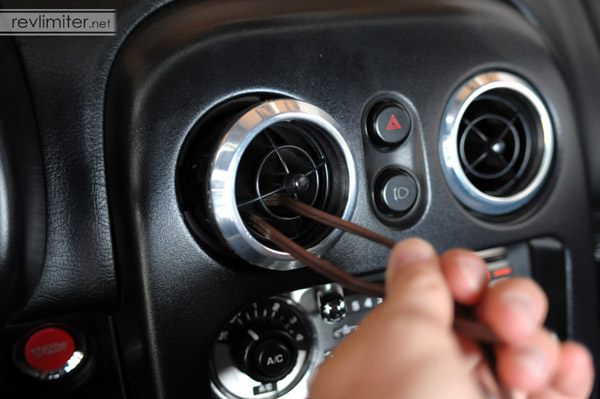
Dash Top, Tombstone & HVAC Ducts
A coin-roll behind the defrost slots or a buzz that dies with a palm-press points to loose ducts, a stray washer near the header cavity, or tombstone clip chatter. Map the noise with firm hand pressure at the top vents and tombstone side rails while driving. Remove the tombstone in the correct order, tape the clip feet and panel edges, reseat duct joints, and fish out any wanderer hardware. Once the clips are padded and the ducts are fully seated, the “walking” rattle disappears.
Doors, Door Glass & Weatherstrips
Ticks at the door-card top rail and glass chatter with the window slightly down usually mean dry or deformed run channels plus loose door-card clips or a harness tapping the inner skin. Test with the window at ¼ and ½-down over ripples and press the outer seal to the glass; silence confirms the run channel. Re-clip the vapor barrier, pad the harness with Tesa tape, and treat the run channels with silicone. On ND/ND RF (and some NCs), factory bulletins cover run-channel deformation and regulator noise; follow those procedures if the basics don’t solve it.
Seats, Rails & Seatbelt Towers
A metallic clack on take-off or braking and a seat “click” when your weight shifts scream worn NA/NB seat-rail bushings or a loose slider/hinge. Parked, rock the seat; move one notch and repeat. If the feel changes, the rails or latch are your culprits. Replace the rail bushings, add thin felt where seat plastics meet metal, and snug the seatbelt-tower clips. This is a high-impact, low-cost quieting job.
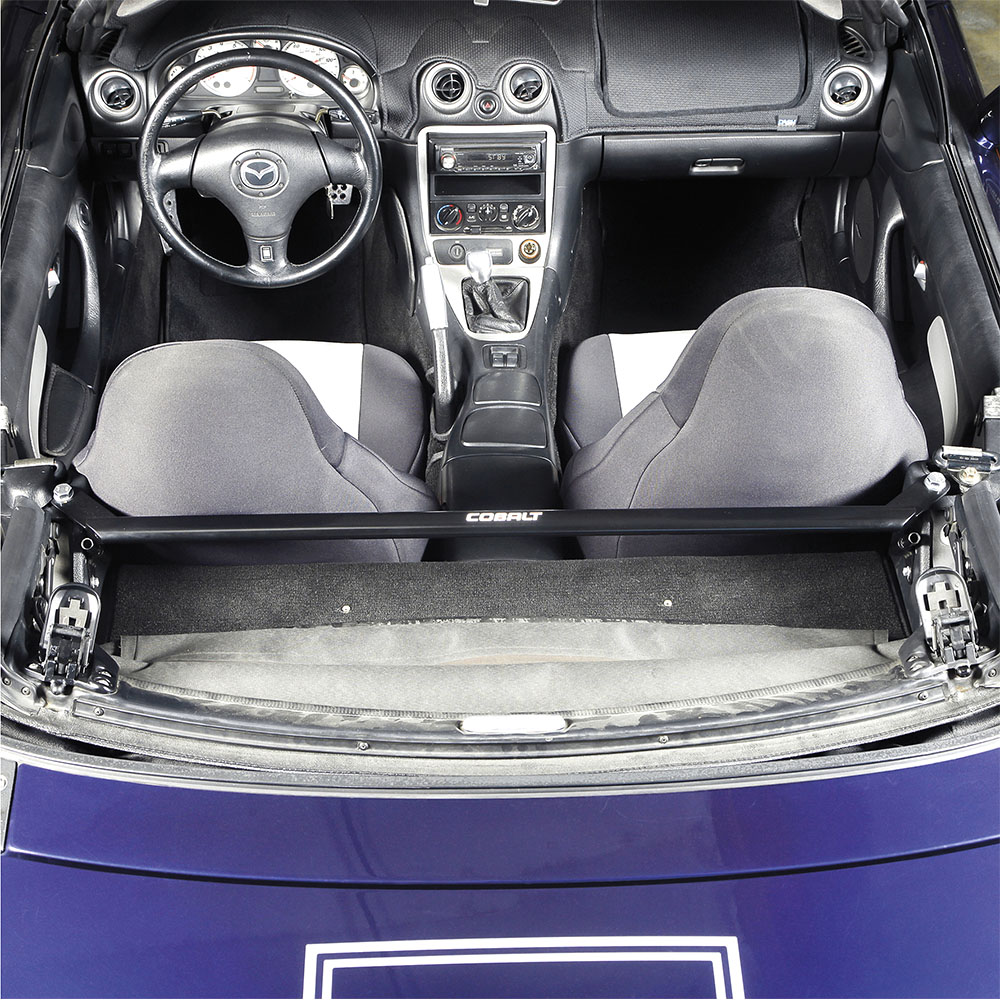
Console Area
An rpm-tracked shifter buzz plus extra tunnel heat points to a torn upper boot, tired lower boot, and dry turret oil. With the car in neutral at 3–4k rpm, lightly grip the shifter; if the note changes, service the turret. Replace the upper boot, inspect the lower boot, refresh turret oil, and torque the cover screws. On NC, follow the clip-heavy console removal steps, once inside, the fix is the same.
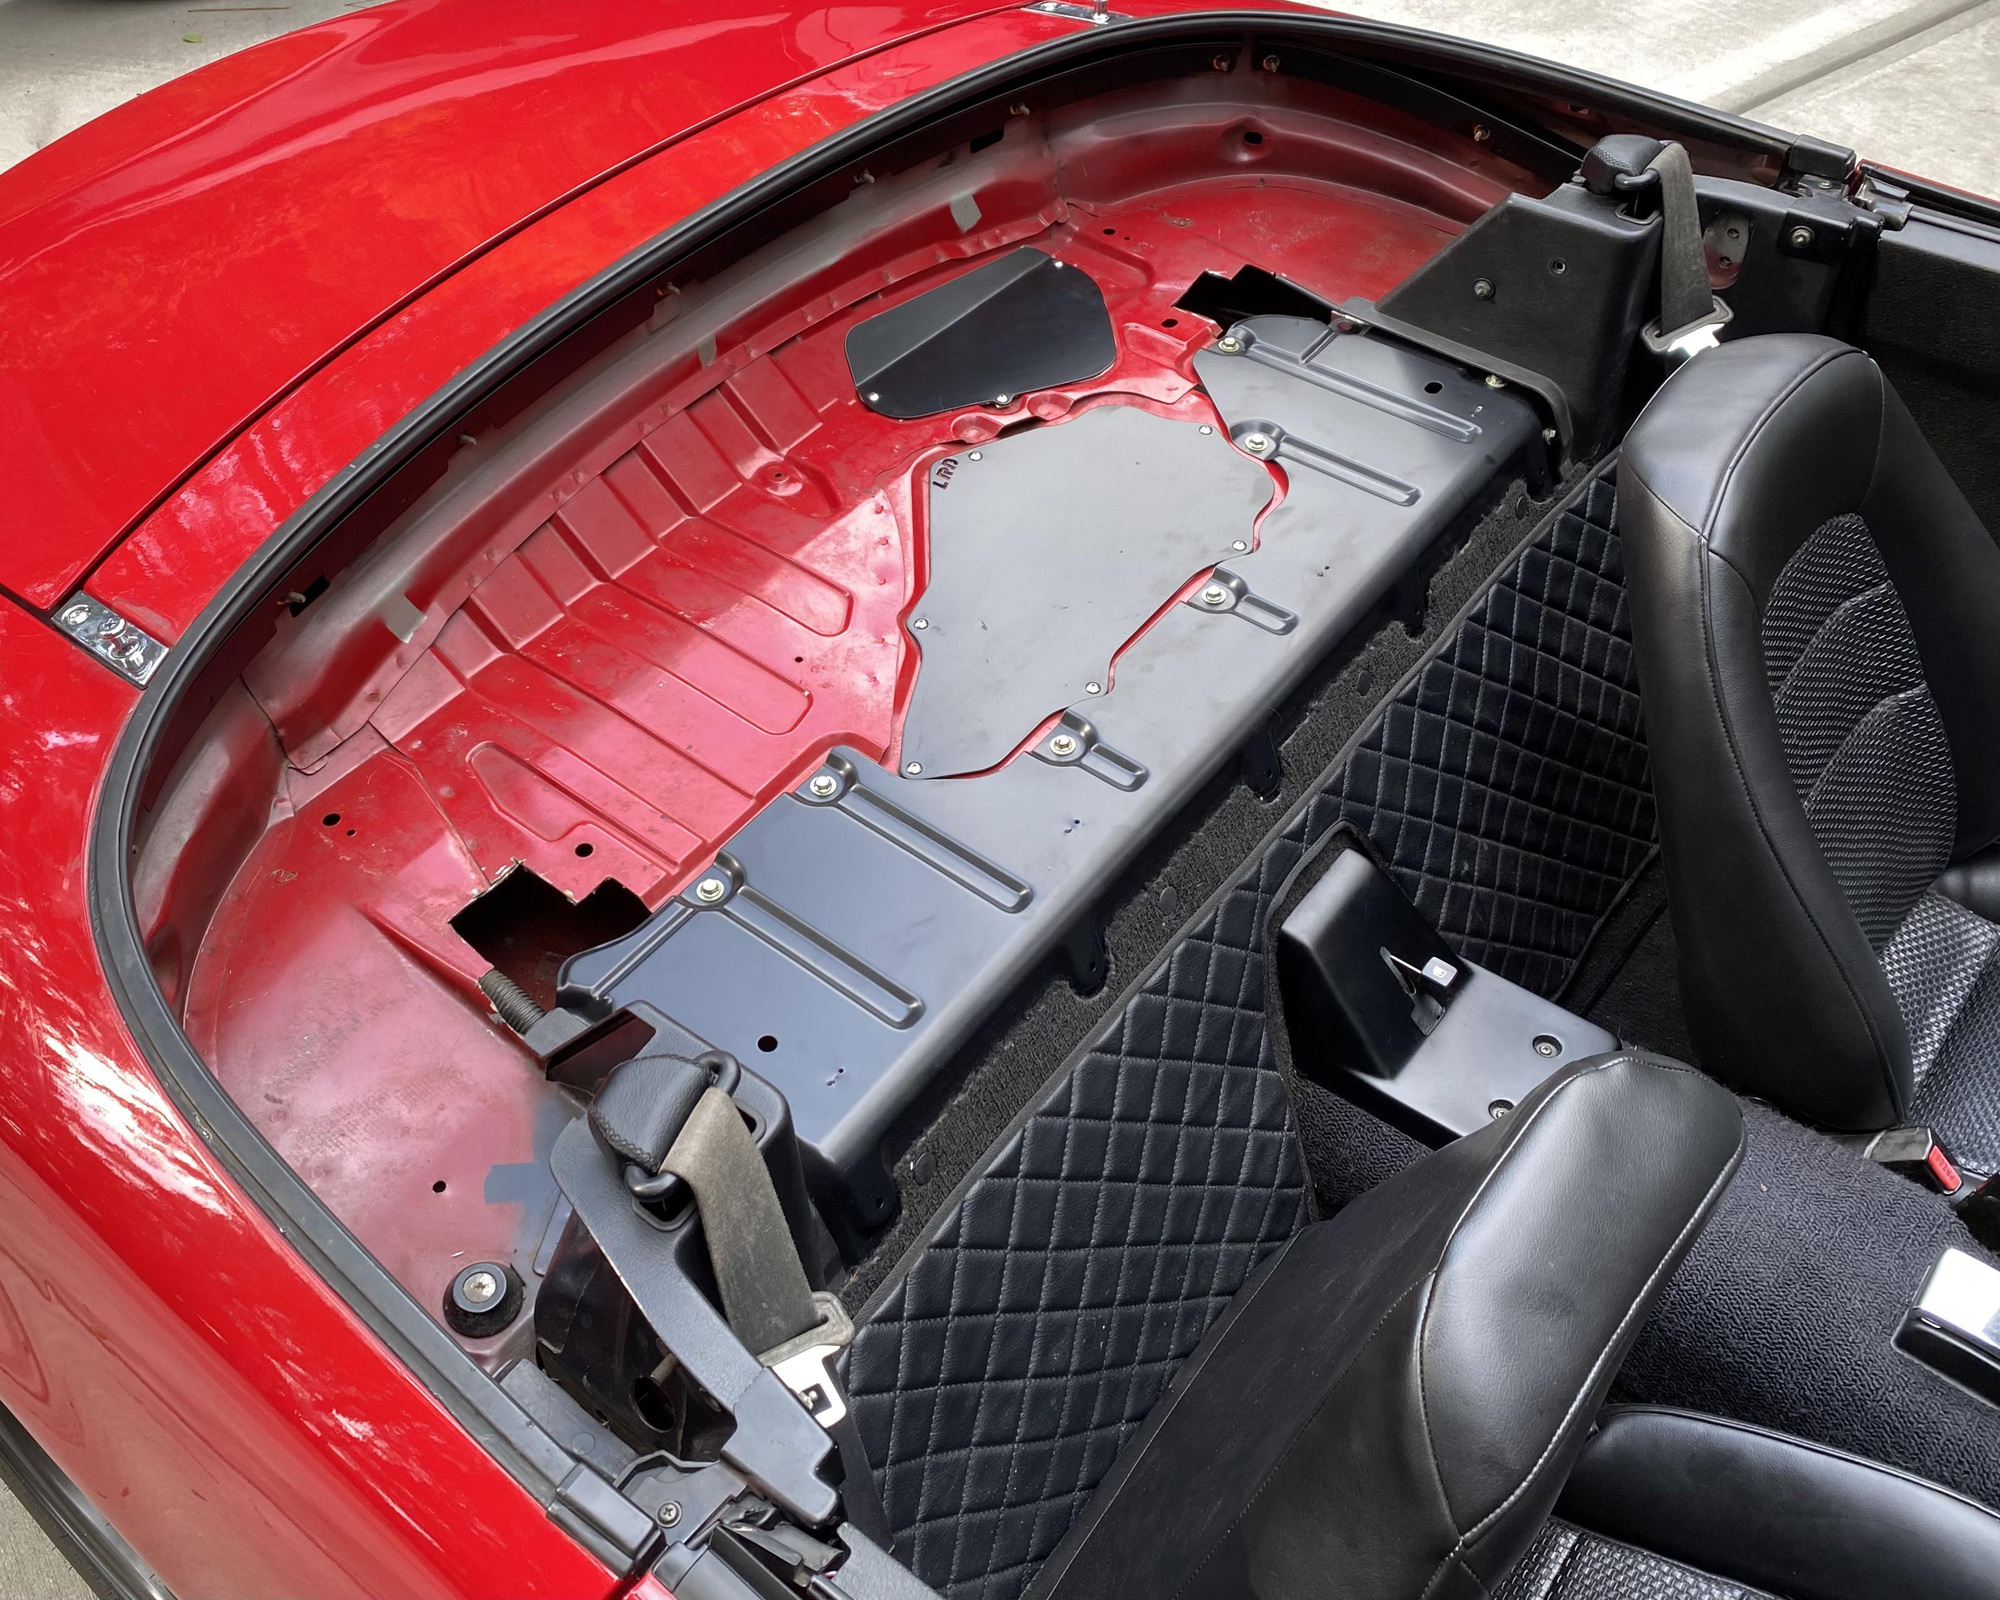
Rear Shelf, Parcel Tray, Trunk, Jack & Spare
Rear-biased rattles over ripples or a 2–3k rpm drone often come from loose cargo, a chatty parcel tray, soft-top frame contact, or trunk torsion rods touching. Empty the trunk, strap the jack and tool roll, and raise/lower the top to see if the sound shifts. Add foam under shelf plastics, Velcro the tools, confirm the spare hold-down, and check torsion-rod clearance. Many “mystery dash” noises actually originate here and project forward.
Roof Systems (Soft Top, NC PRHT, ND RF)
Soft-top header ticks are usually latch preload or dry rubber. Clean and treat the seals, adjust latch tension, and check the two receiving bolts near the visors. NC PRHT cars have documented header-area rattles addressed by Mazda procedures that tune the header interface and latch tension. ND RF and ND soft top have service documents for link-cover and cross-brace cover looseness and for window run-channel/regulator noise that can masquerade as a roof issue. Apply the factory fixes where your symptoms match.
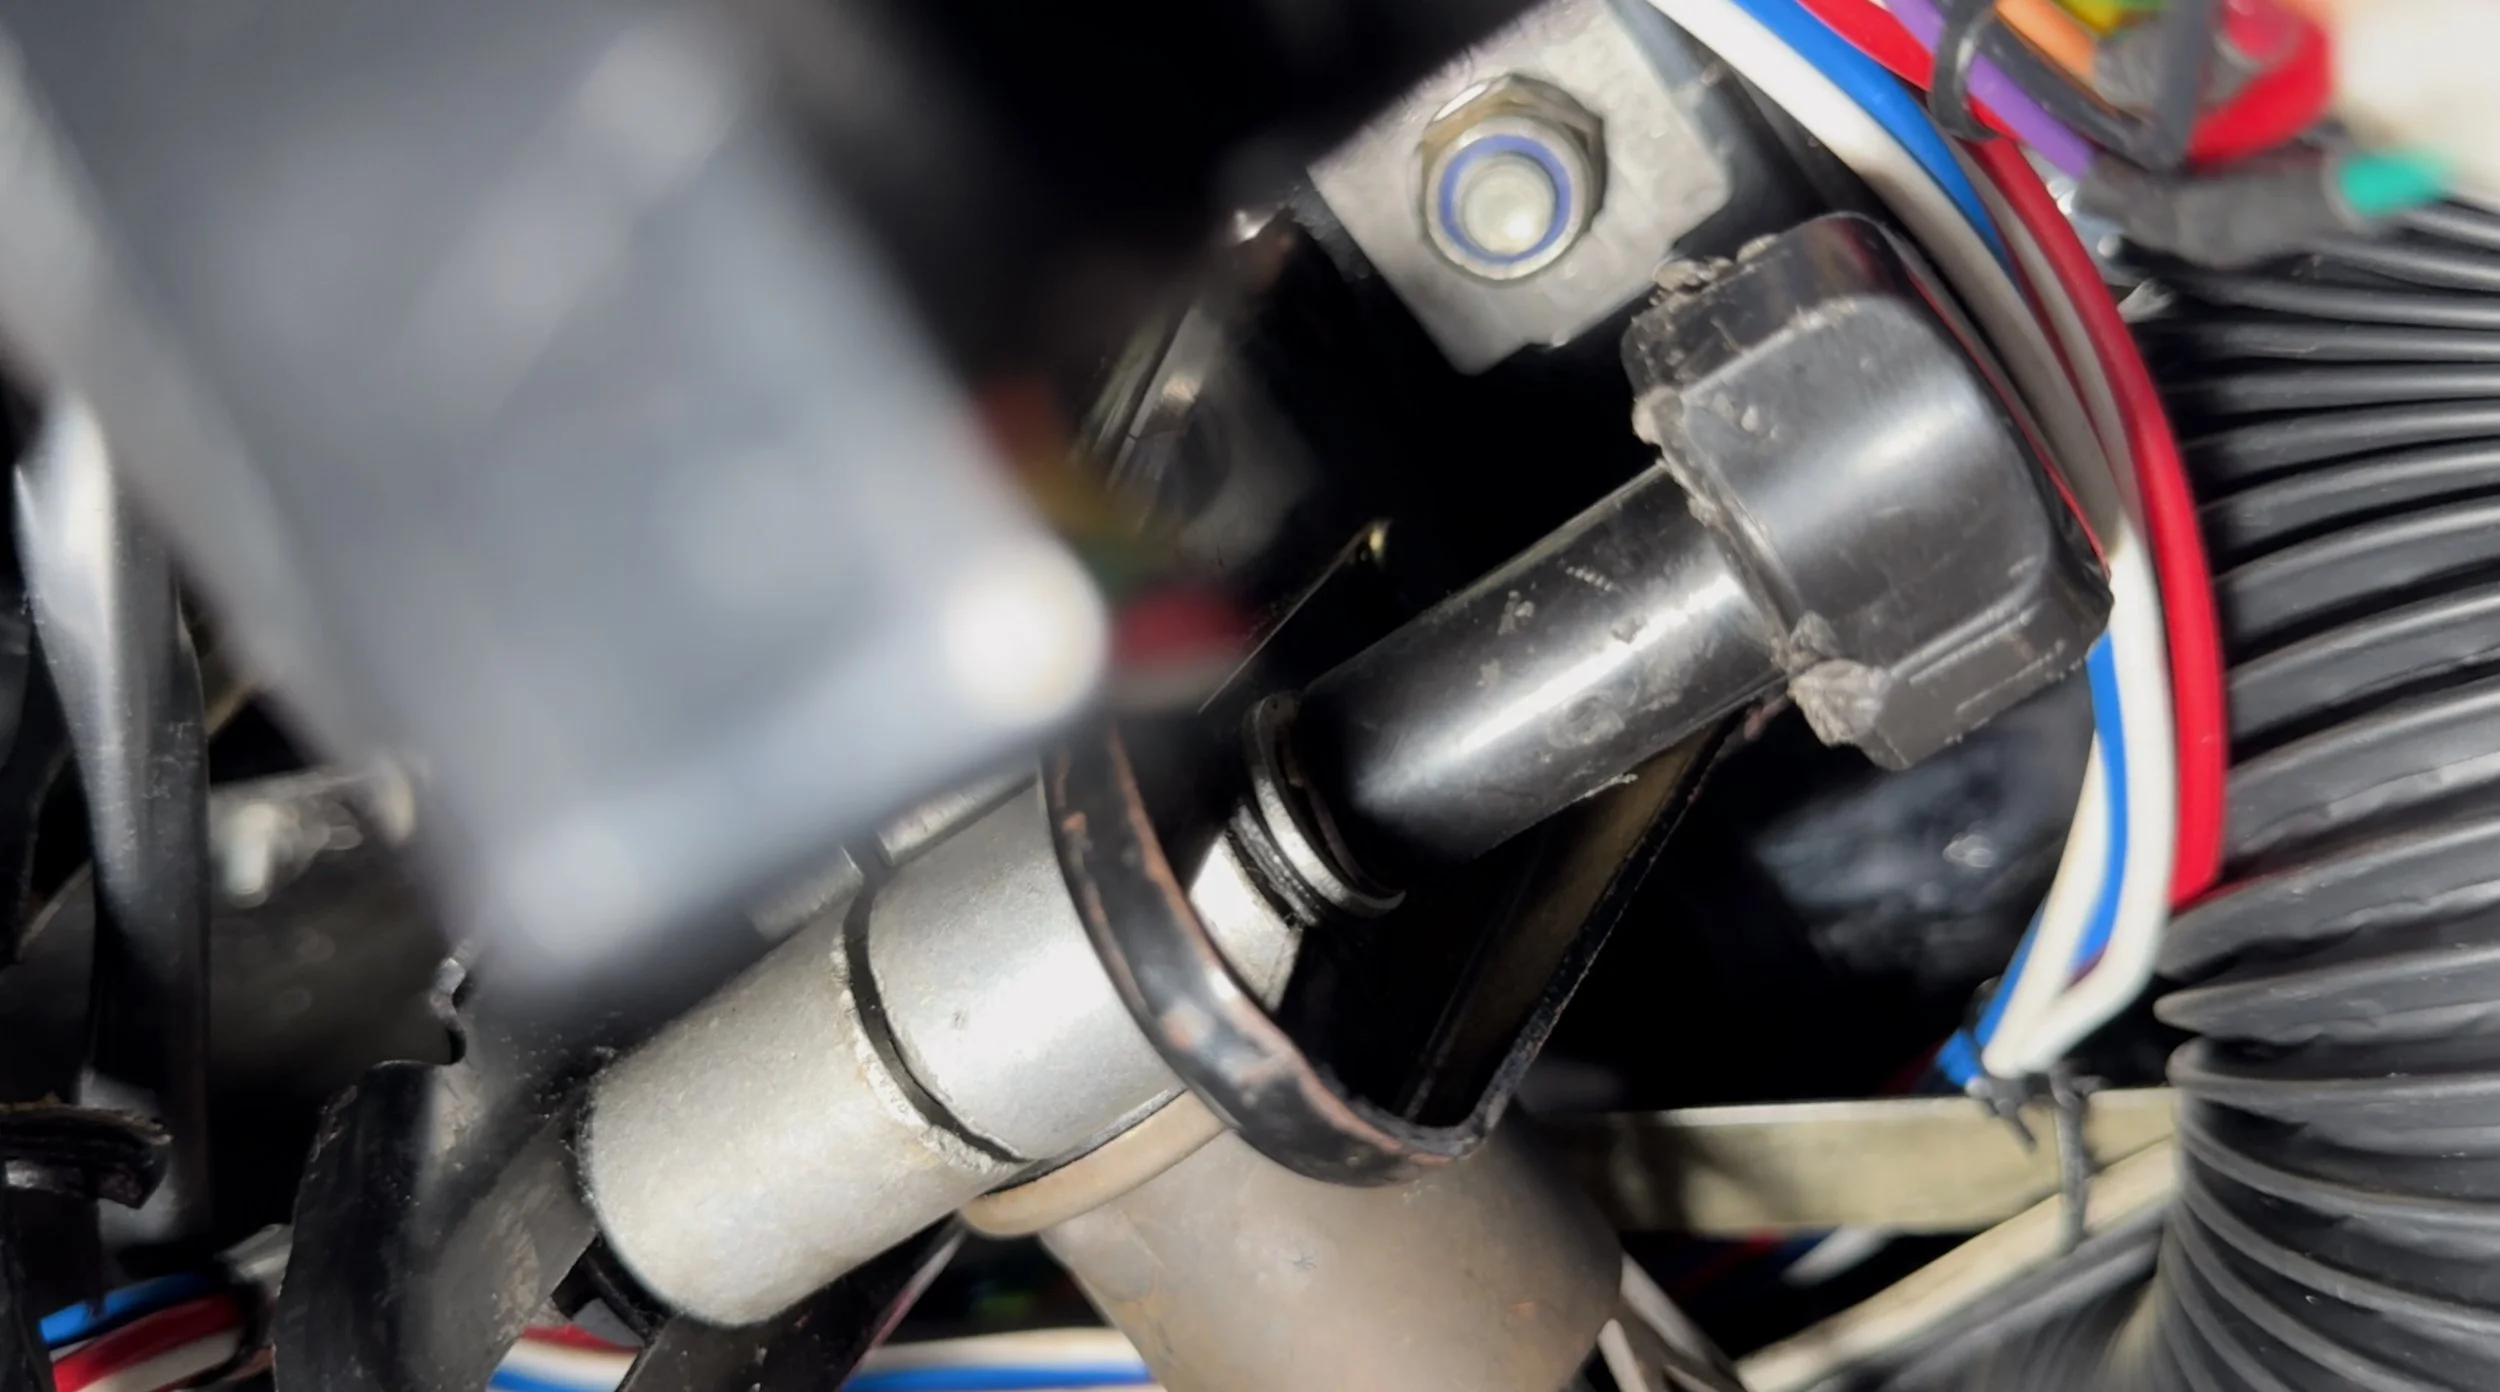
Windshield Header & Cowl Panel
A coin-tick near the mirror or a hollow rattle at the windshield base that “sounds like the dash” typically traces to the cowl panel and header joints. Tape across the header seam to A/B test; if it hushes, treat that seam. Tap along the cowl and feel for free play. Retrieve any stray fasteners in the header cavity, add felt to cowl clip posts, snug or thread-lock the cowl bolts, and replace brittle clips or foam. This is a classic Mazda-family rattle that projects into the cabin.

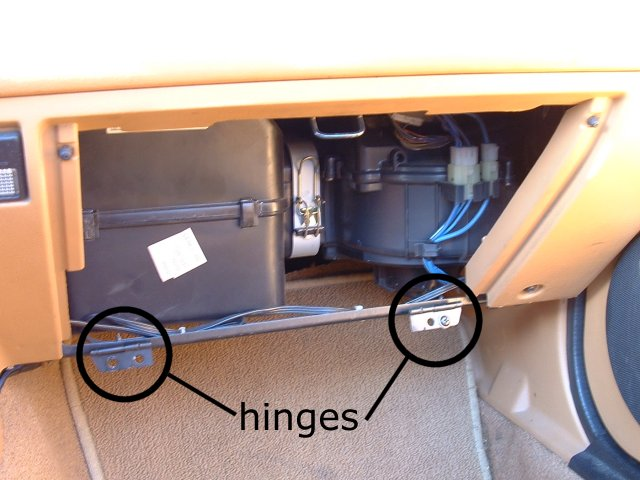
Glovebox, Console Lid, Cupholders & Loose Items
Random buzzes that move around the cabin and stop when you press the console lid or empty cubbies are exactly what they sound like: small contacts and small stuff. Add felt dots to glovebox stops and the console-lid striker, and line small trays with thin foam. It’s a five-minute fix that removes a shocking amount of “background noise.”
Rearview Mirror, Sun Visors, Dome/Map Light
High-frequency buzzes and soft squeaks up high are almost always pivots and tabs. Put a drop of PTFE lube on visor pivots, snug the mirror base, and add tiny felt shims to the dome-lens tabs. These parts live in the heat zone and dry out faster than you’d expect.
Parts, Materials & Where They Go
Use adhesive felt, BSR tape, or Tesa tape anywhere plastic meets plastic: clip feet, door-card top rails, tombstone edges, binnacle tabs, parcel-tray contact lines. Spray silicone into window run channels and lightly on door and roof seals, wipe excess. Hit visor pivots, glovebox hinges, and small latches with PTFE. Replace old cowl, dash, and door-card clips rather than reusing brittle ones. For NA/NB, a turret kit (upper and lower boots plus fluid) is the single biggest cabin-calming service. Consider harder door bushings if door-to-tub movement is obvious.
TSB Cheat-Sheet
NC PRHT header rattles are covered by factory procedures that address windshield-header and roof-panel interfaces and tune latch preload. Early ND soft-top header ticks have a bulletin for the header panel. ND/ND RF door-glass noise and wind intrusion are often a run-channel deformation issue with a defined replacement/treatment procedure, and power-window abnormal noise/failure has a regulator/seal update. ND RF also includes roof link-cover and cross-brace cover fixes that add non-woven fabric and revised clips.
A “dash” rattle that’s actually the cowl is incredibly common, tighten and isolate the cowl panel and clips and it’s gone. A rear rattle that’s really parcel-tray resonance from a louder exhaust disappears with foam isolators and an empty-trunk test. A dash tick that turns out to be a coin, screw, or clip in the header cavity is solved by popping the header trim and fishing it out.
When to Upgrade Parts
If the car still feels chatty after the basics, look at interfaces that let panels move relative to each other. Harder door bushings and refreshed chassis bushings can slightly increase harshness but reduce the energy that feeds rattles. Choose based on your use case: a street-biased setup favors compliance and isolation; a track-leaning setup accepts a firmer ride for a tighter, quieter cabin at speed. The theme is simple, eliminate free play, pad plastic-on-plastic contacts, refresh rubber where it actually seals, and follow the factory procedures whenever your symptoms match their write-ups.


