
Miata Dashboard Repair: Fixing Cracks and Damage
Sun-baked heat cycles and UV exposure dry out the vinyl on Miata dashboards, leading to brittleness and cracks—especially around stress points like gauge hoods and vents. Learn how to prevent damage and keep your dash looking fresh.


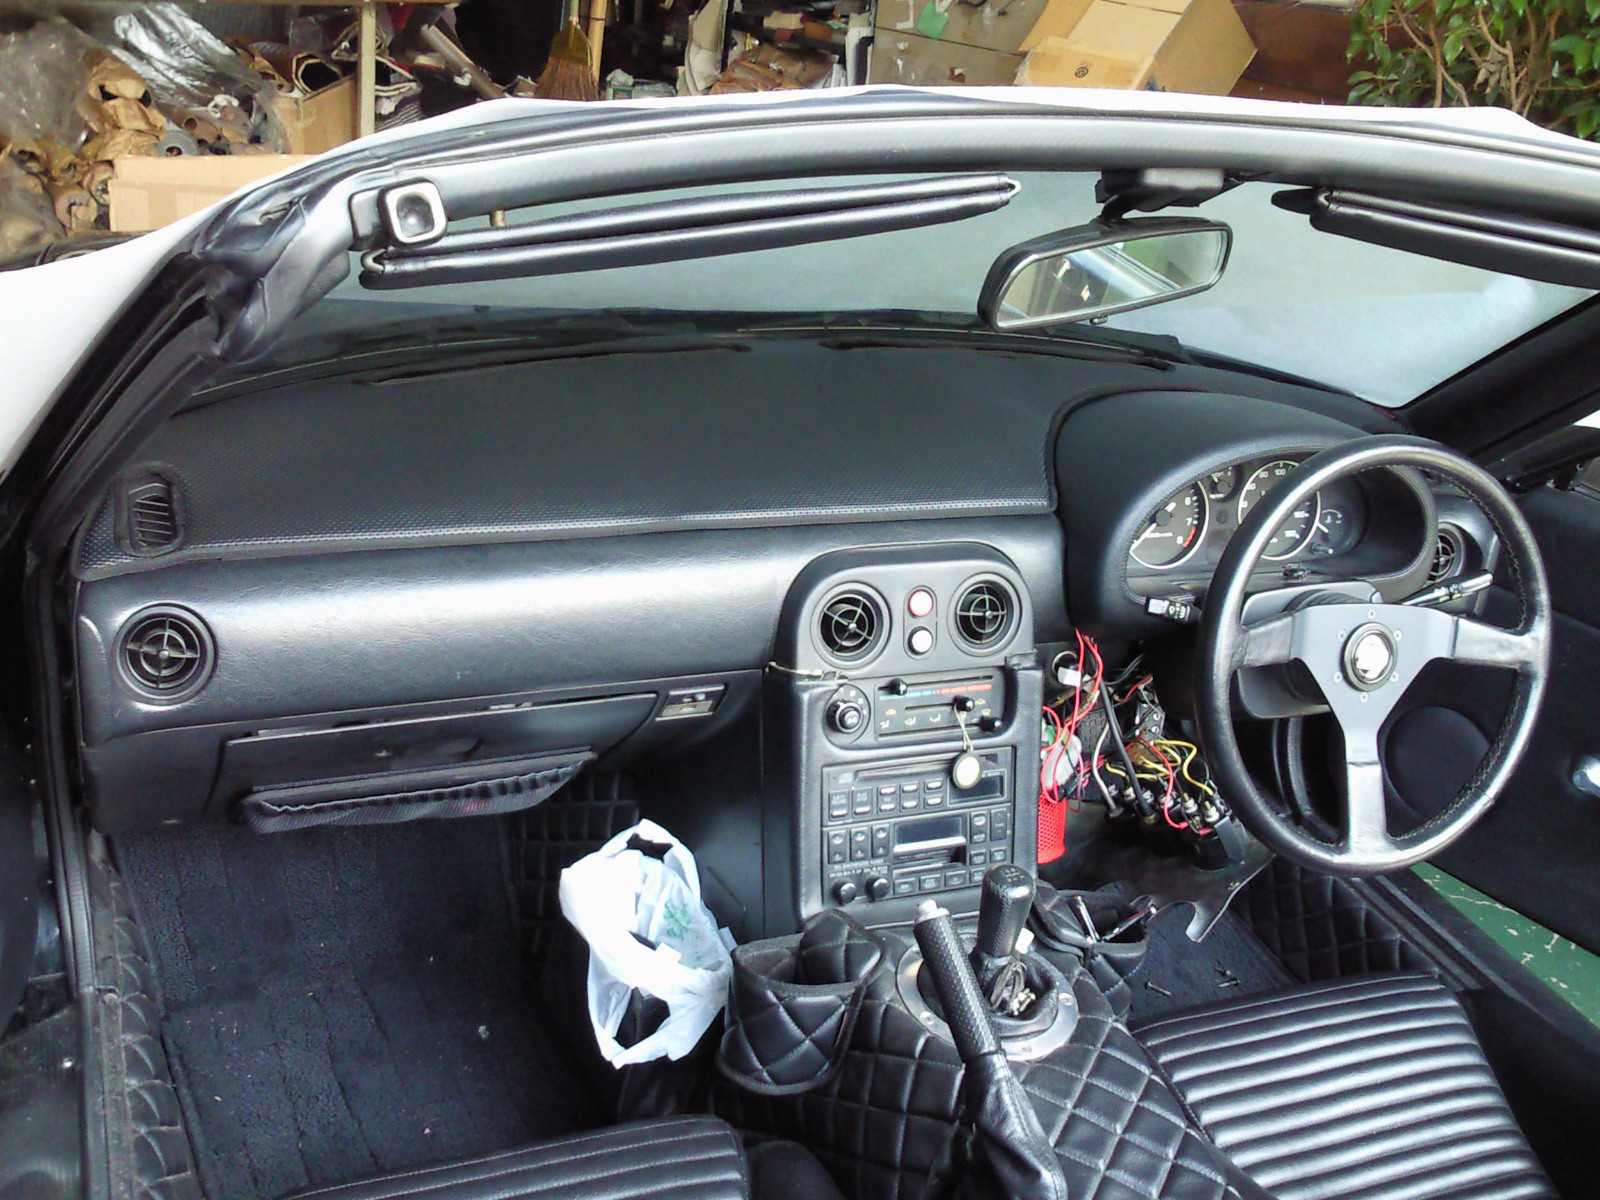
Every time you park your Miata in the sun, the vinyl on top of the dash soaks up enough heat to rival a pizza stone, temperatures of 70 – 80 °C are normal under plain glass. When the sun drops, the cabin cools rapidly. That daily thermal cycling bakes out the plasticizers that keep the skin supple, and ultraviolet rays finish the job by turning the surface chalky and brittle. Mazda’s own design makes things worse: screw bosses, radio shrouds and gauge-hood locating pins are molded directly under the vinyl. Those hard islands create internal stress risers that, once the vinyl has aged, push cracks outward from the cluster hood and center vents. The NA and NB generations are infamous for it, but later NC and ND dashboards use the same basic materials and will age the same way if they live outdoors.
Why NA–NB Dashes Crack (and Why NC–ND Aren’t Immune)
Thermal cycling, UV embrittlement and mold-in stress points team up to wreck the surface. A three-decade-old NA or NB will usually show hairline splits where the sun hits hardest, but even a pampered ND can develop spider veins if you leave it un-tinted in tropical sun. Understanding these root causes matters, because every repair method that follows is really a way of buying time against that relentless heat-and-light assault.
If you’re staring at a single hairline under seven centimeters, leaving the dash in the car saves hours, just pop the cluster hood trim, the tombstone and the top screws so you can work. Multiple splits, curled corners, or rust blistering behind the steel beam are a different story. In those cases, yanking the whole shell is faster in the long run because you can sand, texture or wrap without crawling upside-down. Don’t be intimidated: once the harness and beam are out, the shell weighs only about six kilos, light enough for one person to slide it out the passenger door after dropping the steering column. If you plan to flock or vinyl-wrap, pulling the dash is almost mandatory; it’s the only way to avoid dry-spray stripes and missed edges.
Tools & Consumables
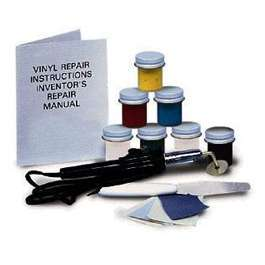
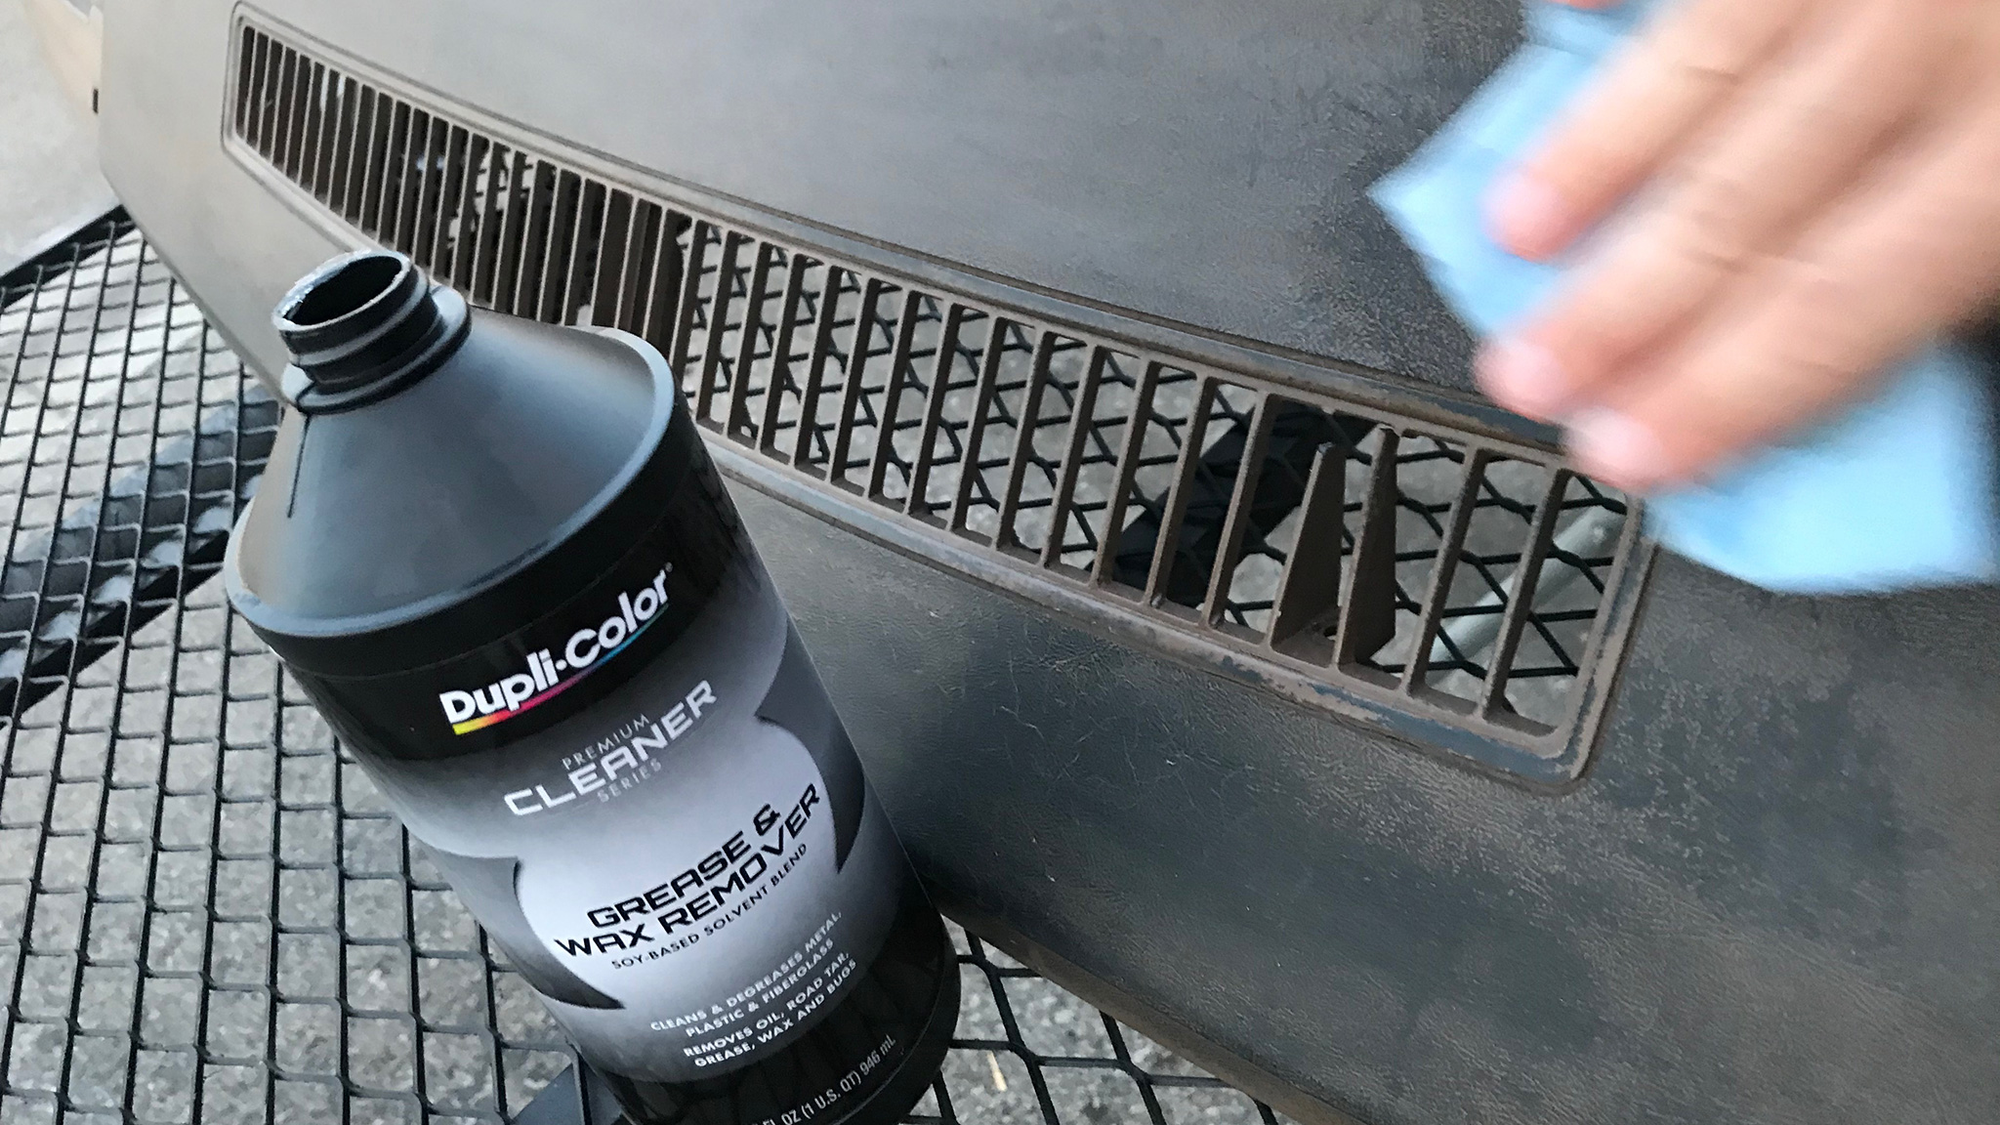
At minimum you need a rotary tool or Dremel with a ⅛-inch ball burr to open each crack into a shallow V-groove, a two-part flexible bumper-repair putty, high-build aerosol primer, a scrap of vinyl to stamp grain, and a can of SEM Color-Coat in Landau Black (or whatever colour your interior calls for). A foam roller and a cheap cardboard hopper make flocking possible for under a hundred dollars. If you have access to better gear, a pneumatic die grinder speeds up trenching, 3M 08236 EZ-Sand levels faster than bargain putties, SEM’s dedicated Texture Coat through an HVLP gun gives sharper grain, and an electrostatic flock gun produces a denser suede surface. For the fastest “driver quality” fix, an ABS DashSkin overlay cap and a tube of silicone are all you’ll buy.
Method A – “Invisible” Filler-and-Re-Texture (Most OEM-Looking)
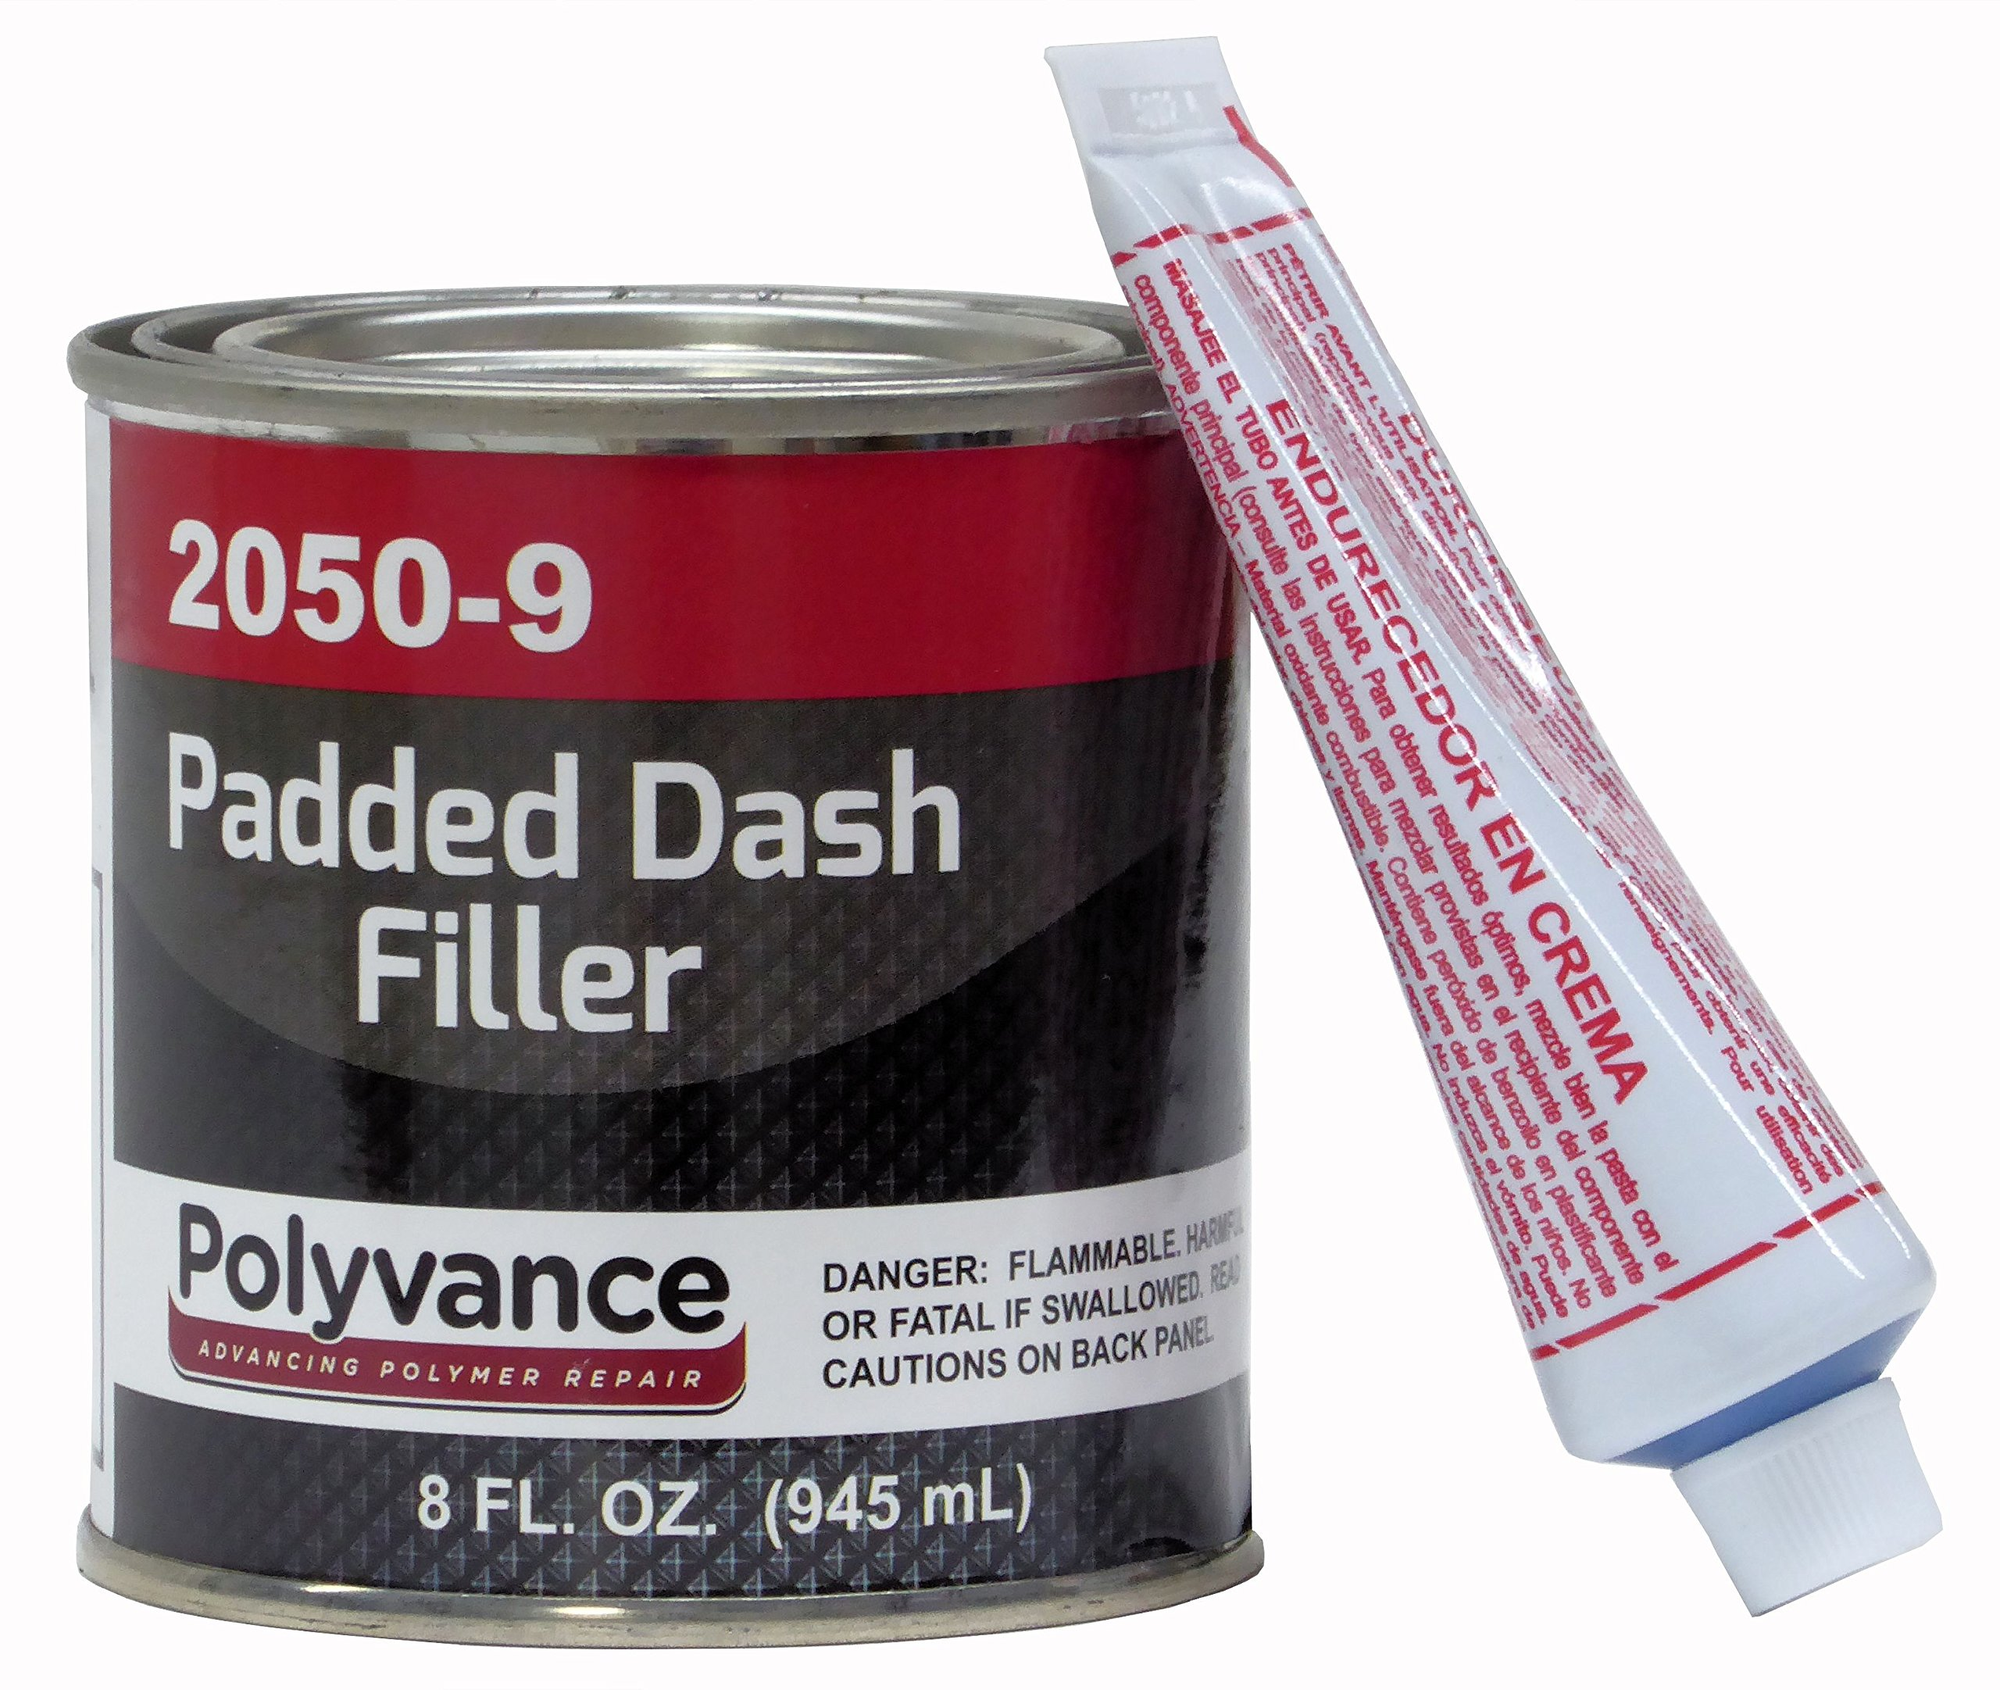
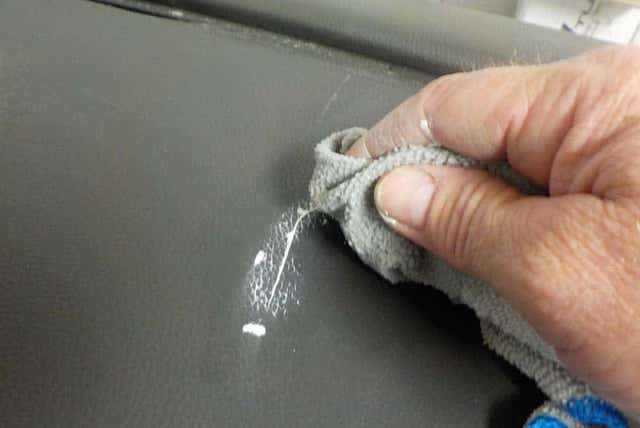
Start by tracing every crack with the burr, widening it to roughly three millimeters and drilling a four-millimeter stop-hole at each end so the split can’t creep later. Scuff a two-centimeter band around the trench with 80-grit, wipe with acetone, and work the two-part putty in slightly proud of the surface. It cures in about fifteen minutes; block-sand through 180- then 320-grit until the repair disappears to the fingertips. Three light coats of high-build primer come next. While the last coat is still tacky, roll your vinyl stamp gently across the area to press a factory-style grain. After a flash-dry, fog on adhesion promoter and lay three or four light coats of SEM Color-Coat, waiting ten minutes between passes. Let the dash cure for a full day at a room temperature of at least twenty-five degrees Celsius before re-installation. The result blends so well that even seasoned Miata spotters have to look twice, but the process is slow and the texturing step takes genuine practice.
Method B – Full Suede Flock (Fast & Forgiving)
Flocking hides imperfections instead of mimicking the original grain, so you don’t need to obsess over perfect bodywork. Still, trench, fill, and sand any deep splits so they can’t print through. Mask every vent opening and mounting stud, then roll or brush on the urethane adhesive until the dash is fully colored but not sagging. Hold the hopper or electrostatic gun perpendicular to the surface and shoot rayon fibres until every square centimeter looks dry and matte. After twenty-four hours, thump the dash to knock loose fibres, vacuum it, and refit. A flocked finish kills glare on bright track days and costs less than a decent dinner, but it picks up lint and is almost impossible to reverse without a full re-skin.
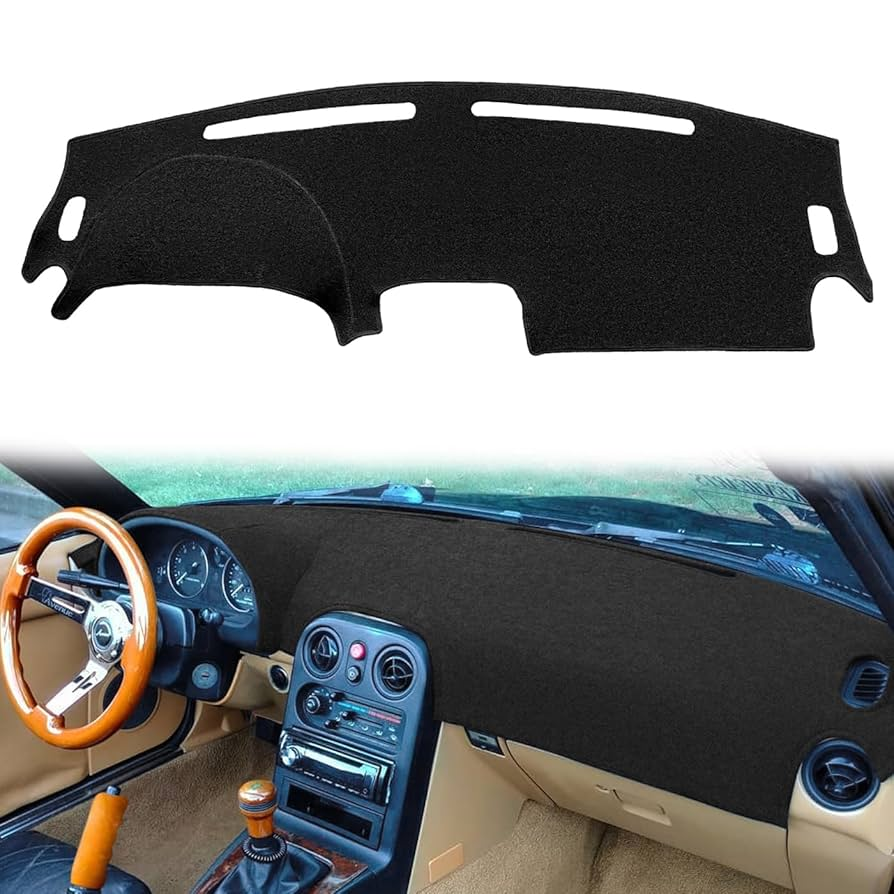
Method C – ABS Overlay Cap (Quickest “Driver-Quality”)
For owners who just want the cracks gone before tomorrow’s commute, a molded ABS cap is the fastest route. Degrease the original dash with isopropyl alcohol, run six-millimeter beads of clear silicone around the overlay’s perimeter ribs, and slide the cap in from the passenger side, hooking it over the cluster hood first. Press the rest down over the tombstone and defroster slots, tape the edges, and let it cure overnight. The job takes half an hour and involves zero paint fumes, but you’ll see a slim seam around the defroster vents, and the plastic looks a little thick where it meets the passenger-side airbag lid.
Rust & Harness Refurb While You’re There
If the dash is out, spin a wire cup across the steel beam to knock off any loose scale, brush on a phosphoric rust converter, and finish with satin-black chassis paint. Peel away the crumbly grey foam around the HVAC blend doors and replace it with six-millimeter closed-cell weather-strip so you don’t lose airflow later. Before unplugging the loom, flag every connector with painter’s-tape tags; those ten minutes save at least an hour, and plenty of cursing, during re-assembly.
Re-Installation Torque Points
On the way back in, snug the M8 bolts that clamp the beam to the A-pillars to twenty-one newton-meters. The tiny screws along the windshield line only need fingertip tension; overtightening them will spin the plastic bosses. The under-column brace gets twenty-four newton-meters plus a dab of blue thread-locker so the steering doesn’t develop a clunk down the road.
Post-Repair Protection
Once the vinyl or paint has cured, wipe the dash with a ceramic-infused interior dressing that adds UV blockers without leaving an oily shine. A clear windshield film rated for ninety-nine-percent UV rejection drops midday cabin temperatures by about eight degrees and more than doubles the life of any repair. If the car sleeps outside, a simple accordion sunshade and a cloth dash-top mat are still the cheapest insurance you can buy.


