
How to Vinyl Wrap Your Miata Like a Pro
Thinking of wrapping your Miata? Prep right, trim clean, and use the right tools to avoid wasted vinyl and frustration. This guide covers essential techniques every DIY wrapper should know—plus a bonus tip at the end that even pros sometimes miss. Save time, save money, and wrap with confidence.


Thinking about vinyl wrapping your Miata? You’ve come to the right place. Let’s be honest: wrapping can get expensive, especially when you waste vinyl on rookie mistakes, so learning the right techniques upfront can save you both time and money. While we’ll focus on the MX-5, these tips actually apply to almost any vehicle. Worried that “every car is different”? Sure, each model has its quirks, but the basics of good prepping, proper trimming, and using the right tools never change. As you follow along, keep an eye out for the bonus tip at the end. It’s something a lot of beginners (and even some pros) overlook, and it might just save your entire project.
Join a Class (or Work with a Mentor)
You’ve probably browsed tons of YouTube videos and might be thinking you’ll pick it up as you go. That’s a start, but there’s nothing quite like hands-on guidance. Whether it’s a formal class or a casual mentorship, seeing a pro in action can shorten your learning curve drastically. Vinyl isn’t cheap, and redoing large panels can cost hundreds in wasted material, plus your time. Having an instructor point out a mistake in real time can save you from repeating that same error on every panel of your car. Can’t find a local class? Seek out a more experienced friend or wrapper who’ll let you assist them. Even something as small as helping prep surfaces can be an invaluable crash course. And if neither a class nor a mentor is an option, at least consider a structured online course; you’ll still pick up high-level techniques without risking too much trial-and-error on your own.
Prep the Surface Thoroughly
You wouldn’t bake a cake in a dirty oven, right? Well, the same logic applies when it comes to vinyl wrapping. The very first step, washing, clay-barring, and degreasing, lays the foundation for everything else. Start with a proper wash using a pressure washer if possible, because it knocks off dirt and grime better than a standard hose. After that, use a clay bar to eliminate microscopic contaminants that could ruin your finish. Finally, grab some 70% isopropyl alcohol and a lint-free microfiber towel to degrease every surface. One often-overlooked detail is inspecting for rust or major paint damage before you wrap. Vinyl won’t magically hide corrosion, it’ll only make the problem worse over time. And if you’re brave enough, remove or loosen trim and badges to get cleaner edges and easier tucking. Believe me, it’s worth the extra effort.
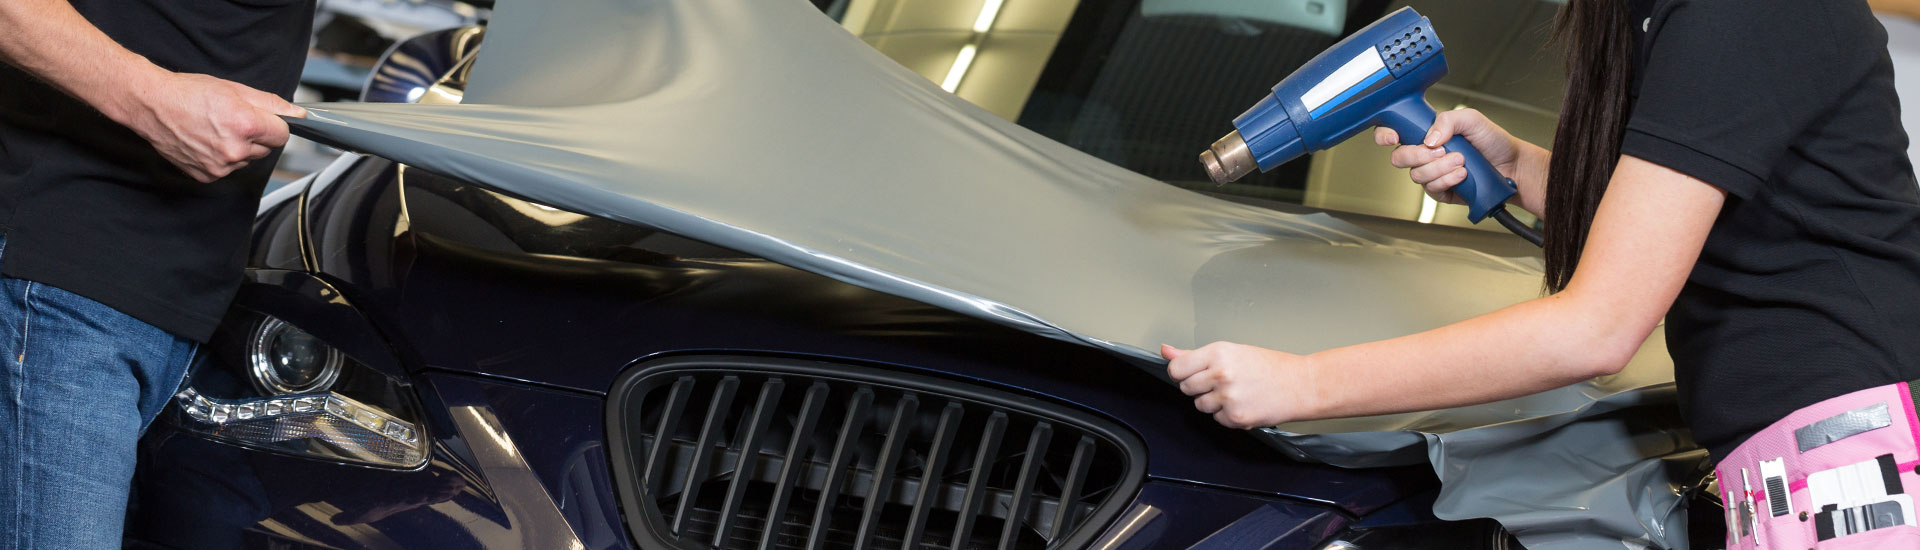
Use Quality Tools
Sure, you can save a few bucks buying off-brand squeegees and dull blades, but you’ll pay for it later in wasted vinyl and frustrating do-overs. A sharp blade (30° or 45°) is a must, you’ll need to snap off or replace that blade often to ensure crisp cuts. Squeegees should have felt buffers or fabric edges to prevent scratches, and you’ll want to switch those out regularly too. A real heat gun (not just a hair dryer) gives you precise, controlled heat for shaping the vinyl around curves and corners. And while a vinyl cutter or plotter might not be necessary for a simple color change, it’s a total game-changer if you plan on custom designs. Spending a little extra on tools up front usually saves you hundreds in the long run, so it’s an easy investment.
Practice on Smaller Areas First
It’s tempting to dive right into wrapping your hood or fenders, but that’s like trying to run a marathon without any training. Cut a small test piece of vinyl, maybe a one-by-one-foot section, and practice on a side mirror or another tricky spot. That way, you’ll get a feel for proper squeegee angles, heat application, and edge tucking without gambling a big, expensive piece of vinyl. If a certain skill, like trimming corners, keeps tripping you up, focus on that skill repeatedly before moving on to bigger panels. And for the love of all things automotive, don’t let your first attempt be on a client’s car if you’re aiming to do this for business. Learn on your own ride first, or a spare panel, and take note of any lessons you pick up along the way.
Heat and Stretch Properly
Vinyl is basically a big rubber band in sticker form. If you overheat it or stretch it too far, it can warp, discolor, or peel back after a few days. If you don’t heat it enough, it won’t snugly conform to the curves of your Miata. To find the sweet spot, heat a scrap piece and gently stretch it to see how far you can push it before it starts thinning or tearing. When you’re applying heat to the actual car, keep the gun moving so you don’t scorch one spot. Once you’ve shaped a tricky curve, let the vinyl cool and settle in its new form. Always anchor edges while the material is warm, and watch out for signs of overstretch, like color shifts or micro-tears. There’s nothing more heartbreaking than waking up to a lifting edge after you’ve poured hours into a wrap job.
Perfect Your Squeegee Technique
If you’re wrestling with bubbles, wrinkles, or odd lines that pop up under the vinyl, odds are it’s a squeegee issue. Pros typically hold their squeegee at an angle, guiding air out toward the edges in overlapping strokes. Think of it like mowing the lawn, you overlap each pass so you don’t leave any uncut “patches.” Pressure is important, too. You want to push firmly enough to eliminate bubbles but not so hard that you scratch the vinyl or cause friction burns. Using a squeegee with a quality felt or microfiber buffer keeps the surface smooth and scuff-free. The biggest time-waster you’ll encounter here is having to lift and re-lay the vinyl because of trapped air bubbles, so nail that technique and you’ll save yourself hours of headaches.
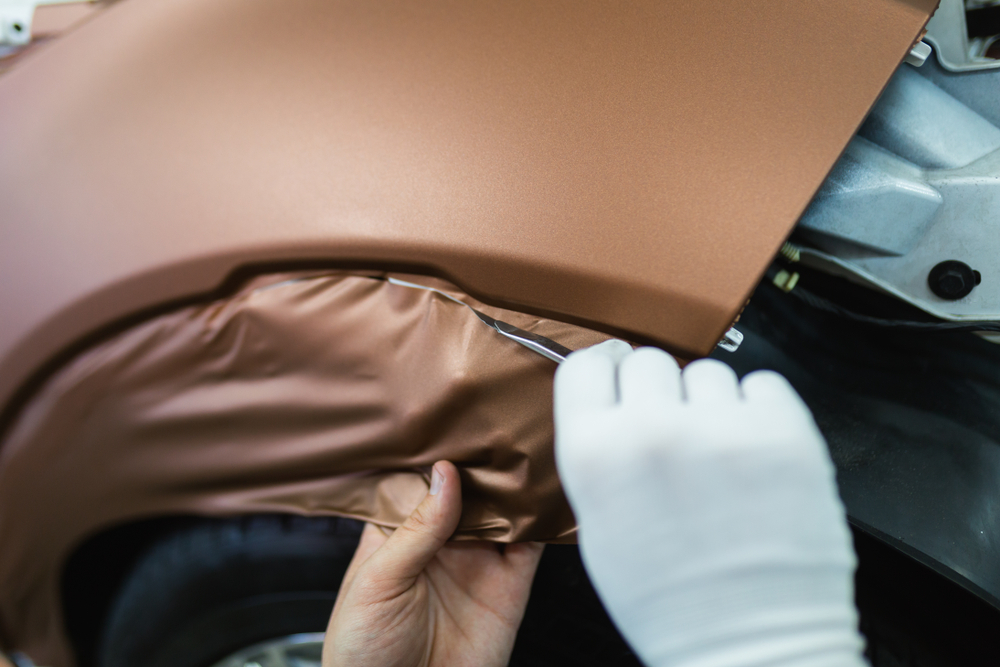
Trim Carefully
Trimming might sound simple, but it’s often where newbies accidentally score the paint or end up with jagged edges. Keep your blade extension short, about a quarter-inch, and maintain a slight angle so the blade glides along smoothly. Whenever possible, try to cut in one fluid motion rather than stopping and starting, because that usually leads to wavy or jagged edges. If you can, remove hardware like side markers or badges so you can wrap behind them without awkward cuts. And don’t forget about knifeless tape; it’s a lifesaver in areas where using a blade would be too risky or cumbersome. Think of trimming as precision surgery: one wrong move can result in permanent damage to the paint underneath.
Bonus Tip: Take Your Time
Hands down, rushing is the number-one enemy of a clean, professional-looking wrap. When you watch seasoned pros online finish a car in a couple of hours, remember that they’ve honed those skills over countless wraps. If you’re a beginner, plan each panel before you even touch the vinyl. Visualize how you’ll lay it, where you’ll start squeegeeing, and how you’ll manage edges or corners. Don’t be afraid to step back and take a break if you start feeling tired or frustrated, mistakes pile up when you’re exhausted. Mastering even one panel flawlessly is a big win, so celebrate that progress instead of beating yourself up for not moving faster. Slowing down can spare you the heartbreak of redoing an entire panel because of one careless slip.
To recap: find a class or mentor to speed up your learning. Prep the car meticulously so dirt and grime can’t sabotage you. Invest in quality tools and blades so you’re not slicing through vinyl like it’s a piece of wet tissue paper. Practice on smaller areas to build skills, and remember that heating and stretching vinyl takes patience. Get your squeegee moves locked down, trim with caution, and most importantly, don’t rush. If you follow these tips, you’ll be amazed at the transformation you can pull off in your own garage. Don’t forget to subscribe or follow along if you want deeper dives into advanced topics like wrapping mirrors, removing door handles, or comparing different vinyl brands. Share your experiences or questions in the comments, and let’s keep wrapping together!
Bonus: Optional Extras
- Suggested Materials List: Stick to reputable vinyl brands like 3M, Avery Dennison, Oracal, or Inozetek. Keep a stock of Olfa or NT blades and a reliable heat gun on hand.
- Time & Cost Estimates for a Miata: You’ll probably need around 30–40 feet of vinyl, costing anywhere from $300 to $600. A beginner might take 2–3 full days on the job, so set aside a weekend or two.
- Maintenance: A wrapped car still needs love. Avoid harsh chemicals, wash it regularly, and treat it like a fresh paint job so the vinyl lasts as long as possible.
With these pointers in your back pocket and a steady hand, you’re well on your way to wrapping your Miata like a true pro. Good luck, have fun, and never stop learning!


