
How to Photograph Your Miata to Sell Fast
Strong, honest photos sell Miatas faster—tight prep, true angles, light edits win trust. More leads.


Strong photos make buyers trust the car and move faster. Keep the prep tight, the angles honest, and the edits light. Do that, and your Miata pulls more clicks, better messages, and cleaner offers.
Prep First: Make the Car “Listing-Ready”
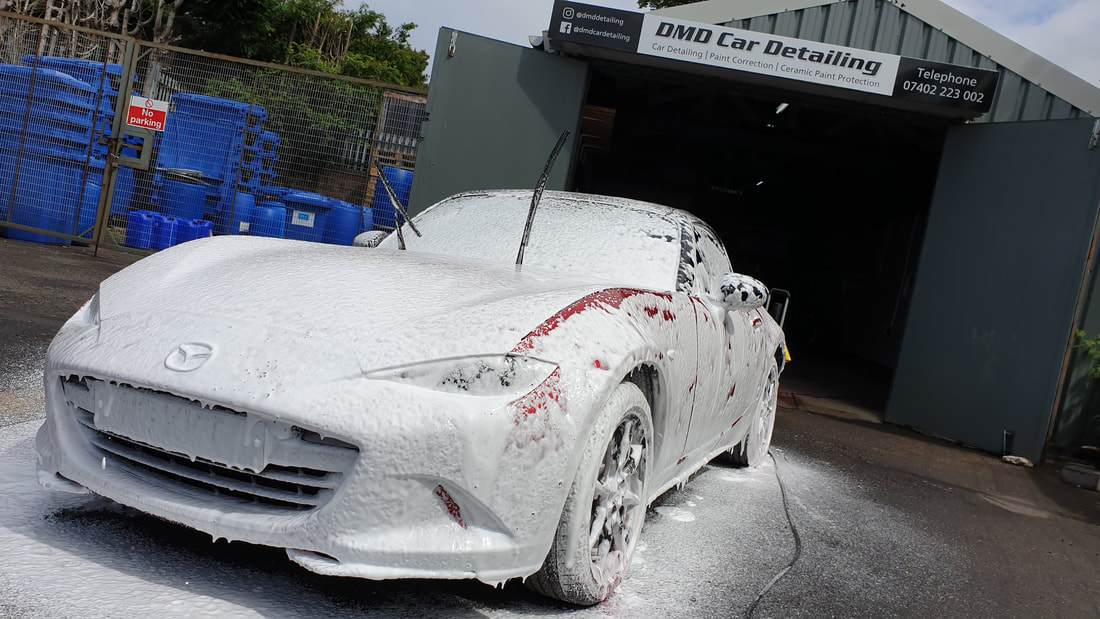
Give the car a proper wash, clay it if needed, apply a light tire dressing, vacuum, wipe plastics, clean the glass, and empty every cubby and the trunk. A tidy engine bay reads as “cared for,” so wipe the plastics and remove obvious grime. Stage your paperwork, title, service receipts, spare keys, and any OEM parts, so you can photograph them later; solid documentation equals buyer confidence. Top off fluids, set tire pressures, and clear any dash warnings; then shoot the gauges with the ignition on so the cluster shows healthy and warning-free. For Miata specifics, clean the soft top fabric and make the rear window as clear as possible, remove distracting windshield stickers, and wipe door jambs, sills, and trunk gutters. If you have a hardtop, decide whether you’ll present the car with the top on or off and stay consistent for the main set.
Gear and Settings (Camera or Phone)
Stick to focal lengths that keep the Miata looking like itself. Avoid ultra-wide lenses that warp proportions and aim for roughly 35–85 mm full-frame equivalent; a 24–70 zoom covers nearly everything, with 35 mm looking “natural” and 85 mm giving a planted, more premium feel. A circular polarizer is huge for cutting glass and paint reflections so buyers can actually see the interior and the true color of the body. Shoot in landscape orientation for gallery consistency. Keep ISO low, use around f/5.6–f/8 for full-car shots, and stop down more for detail work so badges, stitching, and textures stay crisp. If you can shoot RAW, do it; then correct white balance, nudge exposure, and avoid heavy filters. Buyers want a truthful car, not a mood board.
Time and Location (Set the Car Up to Win)
Golden hour or bright overcast gives you soft shadows, richer color, and fewer windshield hotspots. Choose a clean, open background that doesn’t compete with the car, neutral walls, empty lots, scenic overlooks, or simple industrial spaces work well. When you’ve exhausted a location, move to a second spot to keep the gallery fresh and avoid repeating the same background in every frame.
The Shot List Buyers Expect
Start with an exterior walk-around that shows the whole car without cutting off bumpers or mirrors. Cover front three-quarter from both sides, a straight-on front, both side profiles, rear three-quarters from both sides, and a straight-on rear. Add a roofline or beltline view from standing height and one low-angle front three-quarter for presence without distortion. Then capture close-ups of each wheel and tire (including tread depth and date codes), headlight and taillight lenses to show clarity, and glass and seals. Include a few safe peeks at the sills, jacking points, and rockers because rust is a known Miata concern. Move inside and take a wide shot from each door, a straight-on dashboard photo with the cluster lit and warning-free, clear odometer and gauge close-ups, and focused frames of the center stack, shifter and boot, handbrake, pedals, carpets, mats, door cards, and trunk. For the engine bay, shoot a wide from center and angled views from each front corner, then highlight the valve cover area, coolant reservoir, belts and hoses, battery, and any identifying stickers. Photograph the hood underside if it’s presentable. Finally, lay out and shoot keys, owner’s books, service records, and any included OEM parts like the original wheels, airbox, soft-top boot, tonneau, or hardtop brackets.
Detail Strategy: The “Six-Section Sweep”
Mentally divide the car into six zones, front, middle, and rear on the driver side, and the same three on the passenger side. In each zone, capture paint and clearcoat, trim and badges, panel gaps, wheels and brakes, lights and lenses, and any accessories like lips, mirrors, roll bars, or hardtop latches. This simple pass keeps you from missing anything important and naturally produces a comprehensive condition set.
Composition Tricks That Work
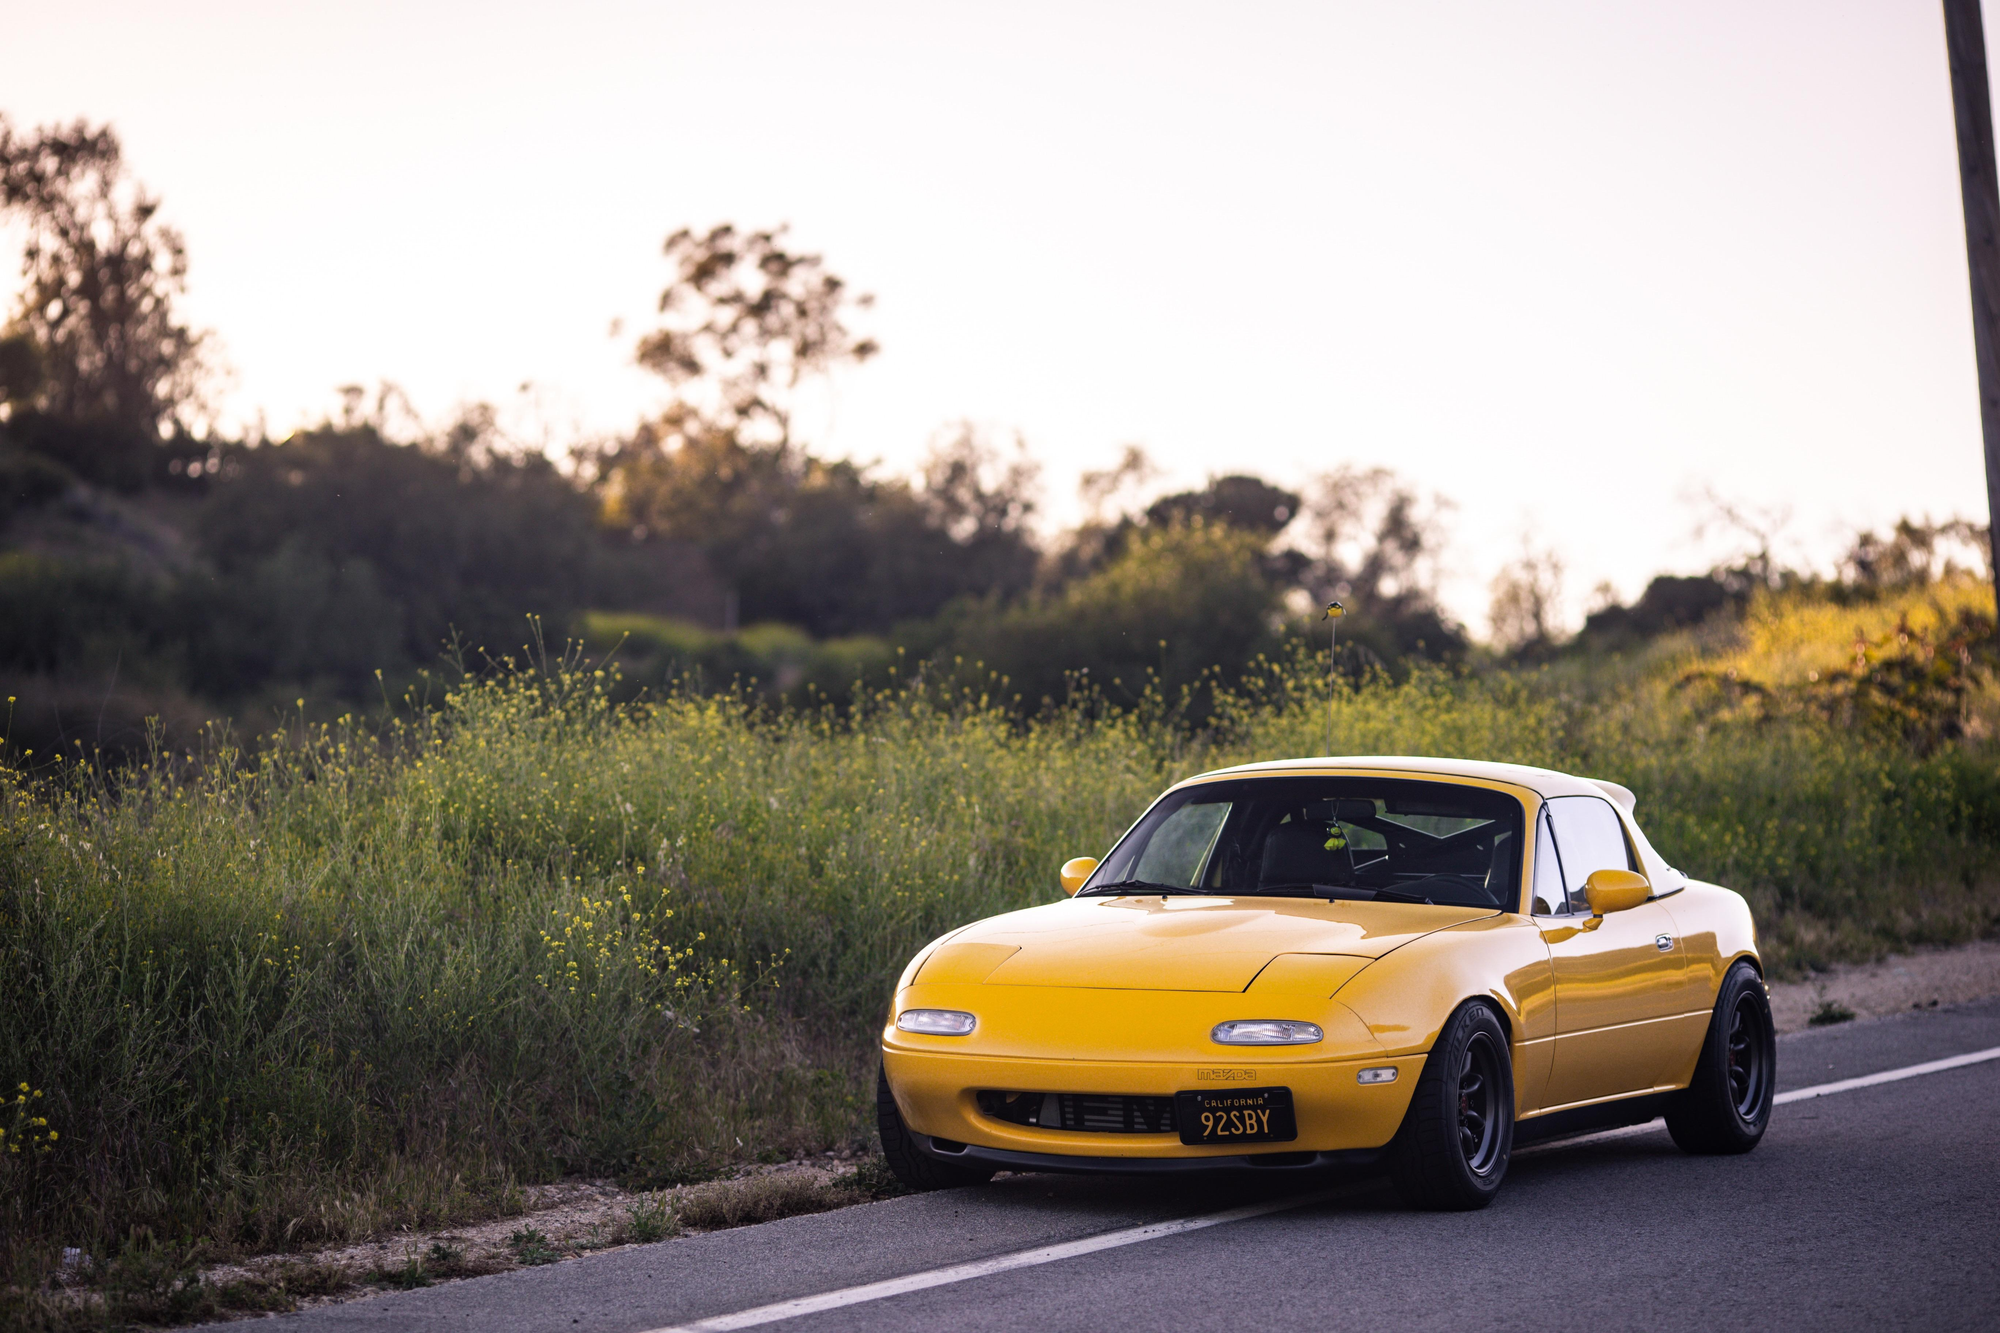
Shooting from knee-to-waist height gives the Miata presence without bending lines, while eye-level preserves “true” proportions for condition shots. Three-quarters will be your hero angles, but mix in a compressed perspective around 85–200 mm to make the car feel grounded and athletic. If you use foreground framing like a fence edge or a branch, keep it subtle so the car stays the star. Avoid exaggerated wide-angle “caricatures” for sales photography; they look cool but misrepresent the shape.
Reflections and Glare Control
Start by rotating your circular polarizer to calm reflections on glass and shiny paint so the interior and body lines read clearly. Favor overcast light or slight backlighting to avoid hotspots, then make small steps left or right until the last stubborn glare patches disappear. When documenting condition, keep panels square to the camera so buyers can read straightness and paint quality.
Honesty Sells: Photograph Flaws
Show the warts on purpose. Close-up any rock chips, bumper rash, soft-top wear, tiny rust at the rockers or sills, curb rash on wheels, and scuffs on interior plastics. Transparent galleries attract serious, qualified buyers and save you from long back-and-forths with tire-kickers.
Platform Fit and Delivery (Friction-Free Uploads)
Keep everything landscape in a consistent 3:2 or 4:3 aspect so the gallery feels cohesive. Lead with a clean front three-quarter hero, wheels straight, windows up, and either the soft top fully up or fully down. Order the photos the way a buyer would inspect the car: exterior walk-around, wheels and tires, interior, engine bay, trunk, documentation, and then flaws. Export at a reasonable long-edge size for classifieds and keep a high-resolution master set. Name files in sequence so they sort in viewing order and keep the capture time intact.
Optional Add-Ons That Speed Sales
A short, no-nonsense video can seal the deal: a smooth exterior walk-around, the top going up or down, a cold start, a light throttle rev, and a quick roll over small bumps to show the car is tight. A few safe underside photos around the sills and differential go a long way on NA and NB cars, since those areas are commonly requested.


