
ND Miata Oil Change 101 – Beginner’s Guide
Regular oil changes are essential for keeping your ND Miata running at its best. If you’re just starting with DIY car maintenance or looking to cut down on shop fees, changing your own oil is one of the easiest and most cost-effective tasks you can take on. In this guide we will be offering detaile

Regular oil changes are essential for keeping your ND Miata running at its best. If you’re just starting with DIY car maintenance or looking to cut down on shop fees, changing your own oil is one of the easiest and most cost-effective tasks you can take on. In this guide we will be offering detailed instructions to make the process smooth and straightforward. Before you begin, it’s a good idea to have all the tools and supplies listed below ready. Once you’ve got everything on hand, we’ll dive right in!
Tools and Materials
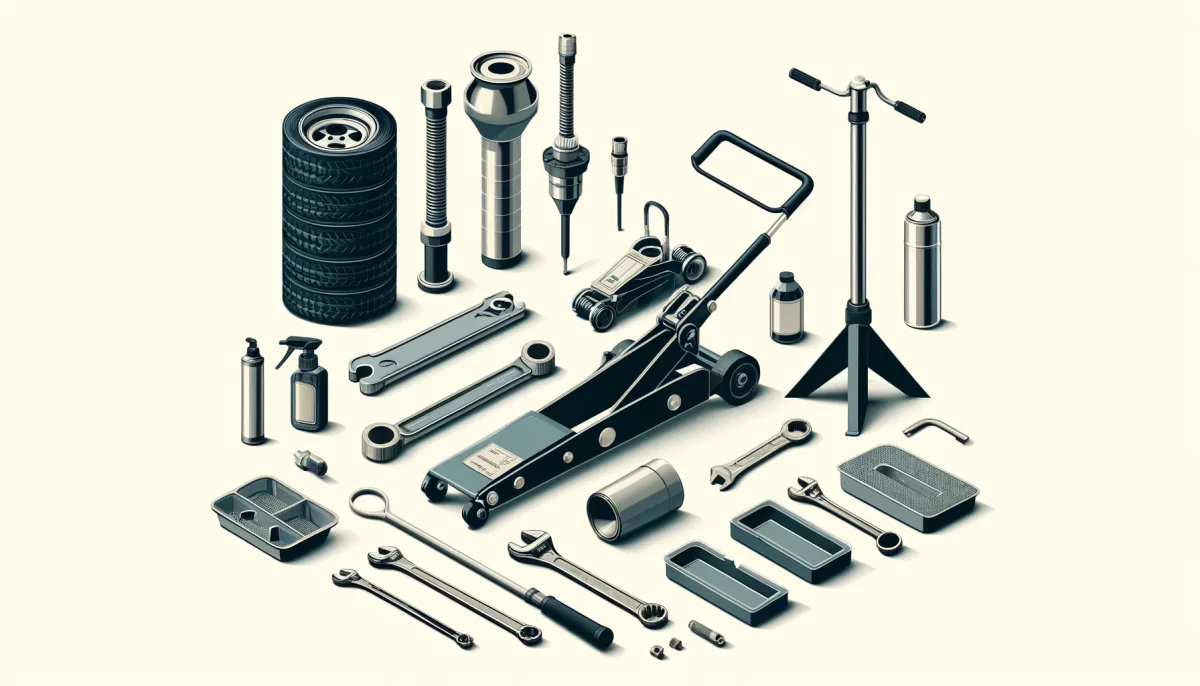
For this oil change, it’s crucial to have all the necessary tools and materials on hand to avoid running back and forth. Here’s what you’ll need:
You’ll want to use 0W-20 synthetic motor oil, as recommended by Mazda for daily driving, which typically requires about 4.5 quarts. It’s a good idea to start with 4 quarts and top off as needed. If you’re taking your Miata to the track, consider using a slightly heavier oil like 5W-30 for extra protection under high heat. Next, you’ll need an oil filter—the OEM Mazda filters are reliable, but aftermarket options like the K&N HP-1008 offer better filtration. Don’t forget a crush washer for the drain plug to prevent leaks, and a 17mm socket to remove the drain plug itself. To remove the splash shield bolts, a 12mm socket will come in handy.
Other essential tools include a socket wrench (a low-profile one is best for tight spaces), an oil drain pan that can hold at least 5 quarts, and optionally an oil filter wrench if the filter is too tight to remove by hand. To avoid making a mess when pouring the oil, use a funnel, and keep some gloves and paper towels nearby to handle spills and clean up afterward. Finally, you’ll need a jack and jack stands, or alternatively, ramps to lift the car and give you space to work underneath.
Step 1: Preparing the Car and Work Area
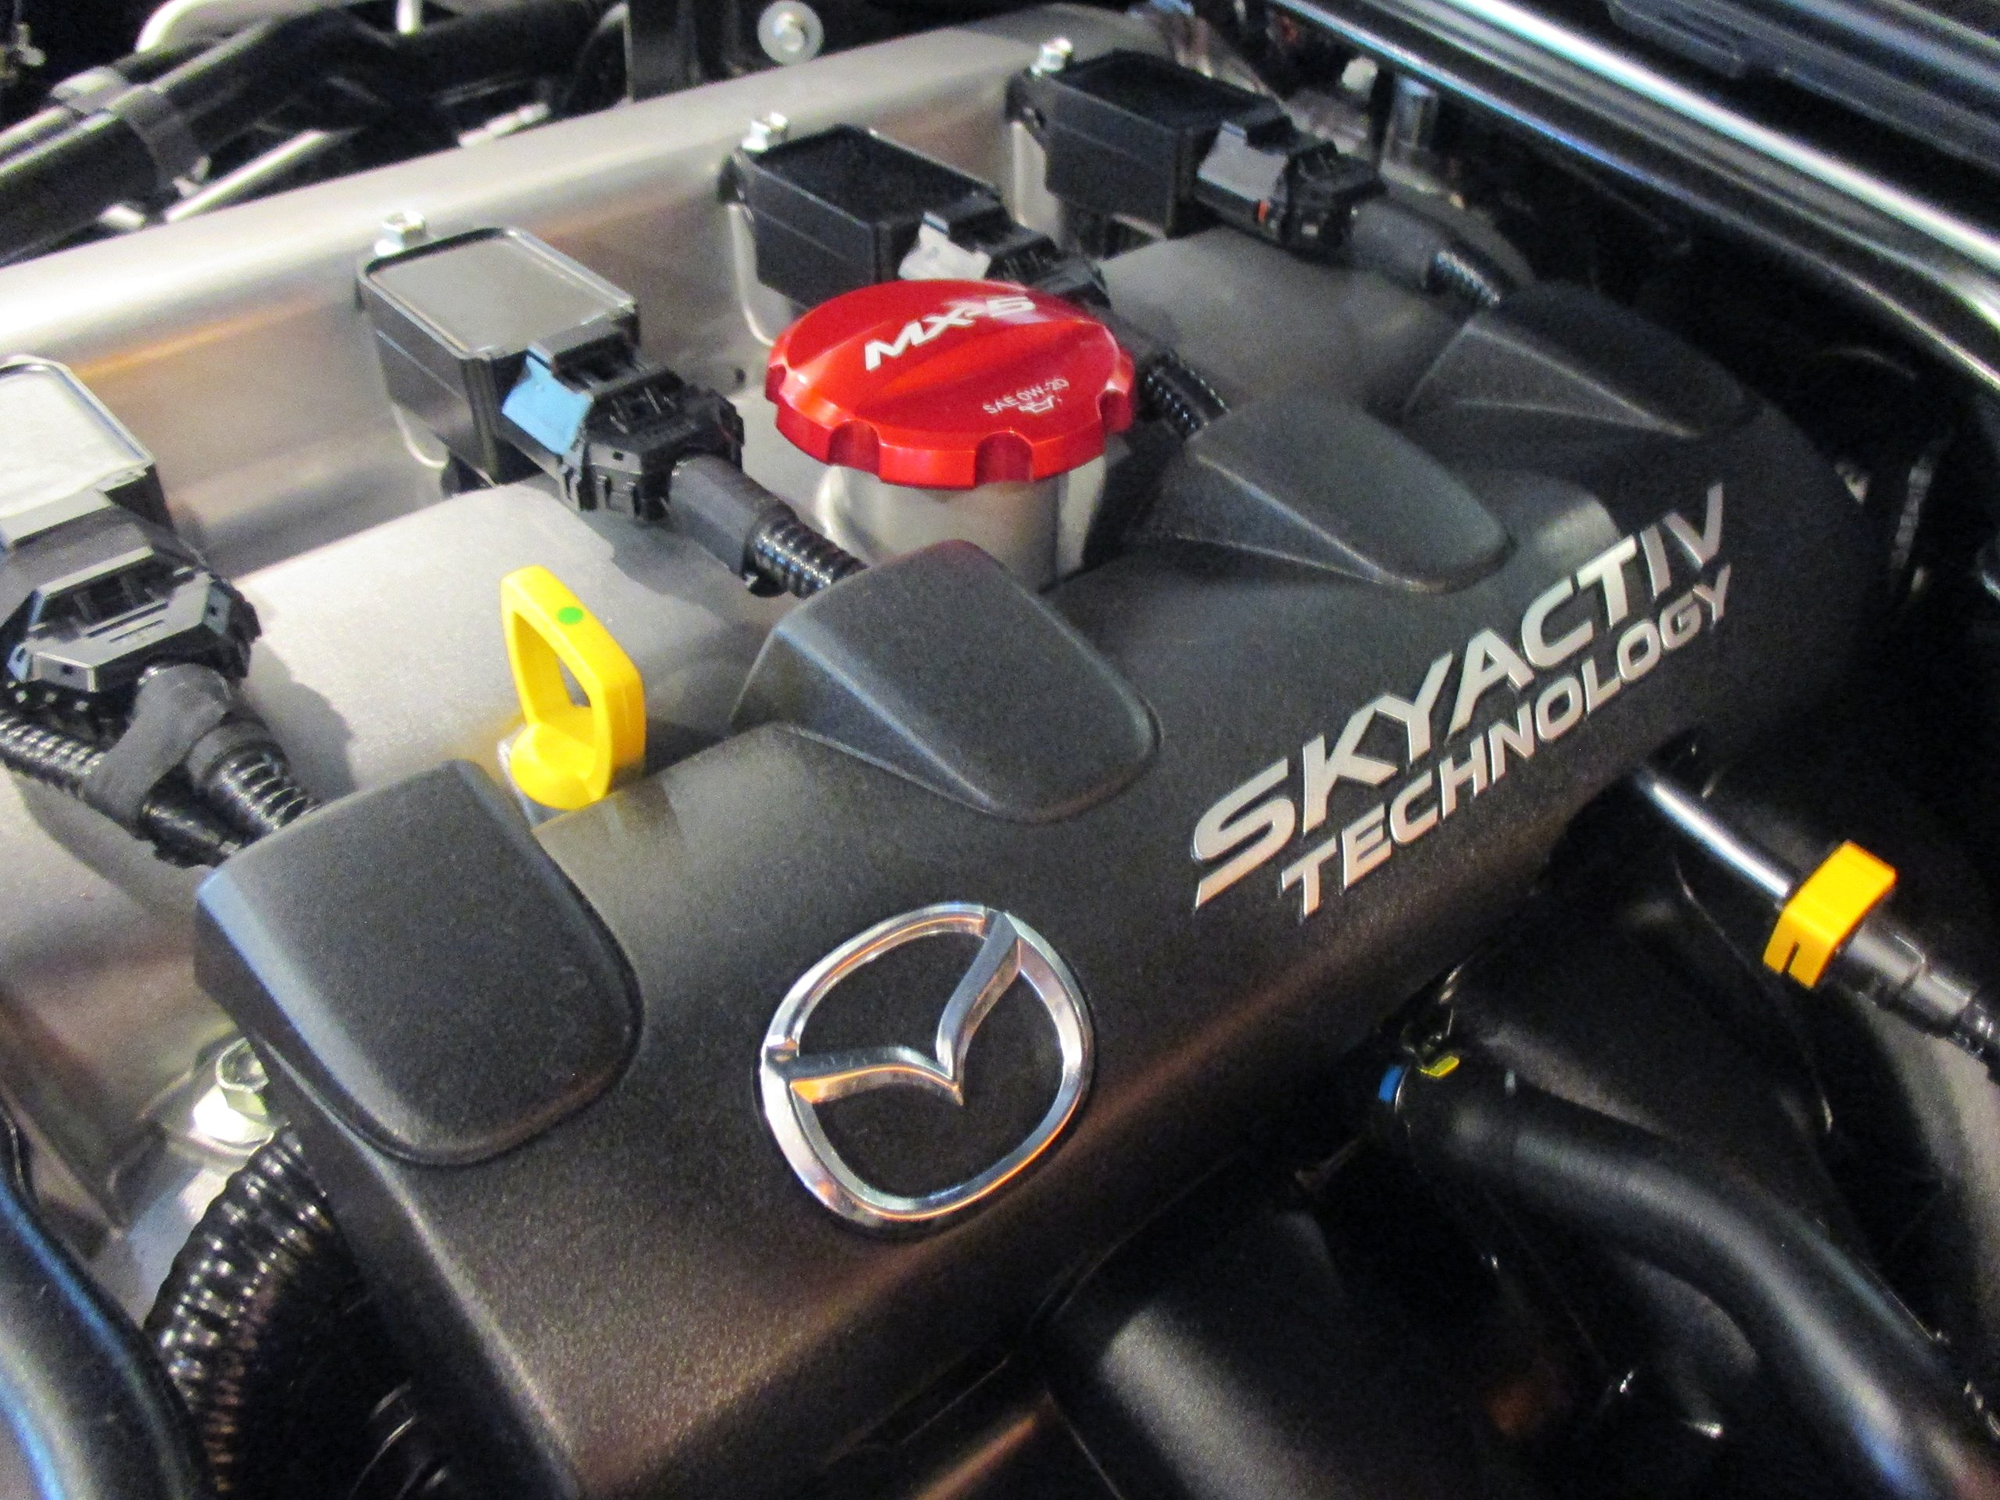
Before you get started, ensure your Miata is parked on a flat surface. Let the engine cool down for 20-30 minutes if it’s been recently driven—working with hot oil can be dangerous. Once the engine has cooled, open the hood and unscrew the oil filler cap. This step allows air to flow into the engine, making it easier for the oil to drain out. Next, use a floor jack to lift the car and place jack stands under the designated jacking points, which are located on the pinch welds near the front wheels. Make sure the car is securely supported before getting underneath. Lay out all your tools and place the oil drain pan within reach. With everything prepped, you’re ready to start the oil change.
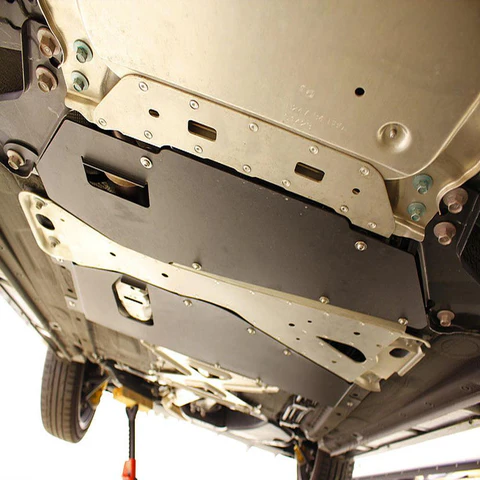
Step 2: Removing the Splash Shield
The ND Miata’s splash shield, which covers the engine’s underside, needs to be removed to access the oil filter and drain plug. This shield protects the engine from dirt and debris but can be a bit of a hassle during maintenance.
Start by locating the splash shield under the front of the car. It’s held in place by several bolts, usually 9-10 in total, which require a 12mm socket to remove. Use your ratchet to take out the bolts, and if you have an impact driver, this step can be quicker—but be careful not to overtighten the bolts when reattaching the shield later. Once the bolts are removed, carefully slide the shield out from under the car and set it aside. Be sure to keep the bolts in a safe place to avoid losing them.
Step 3: Draining the Old Oil
Now, it’s time to drain the old oil. Position your oil drain pan directly under the oil drain plug, which is located toward the back of the oil pan. Using your 17mm socket and wrench, carefully unscrew the drain plug. Be cautious as the oil may still be warm. Let the oil drain completely into the pan, which may take a few minutes, depending on how hot the oil is.
After the oil has stopped dripping, take a look at the crush washer on the drain plug. If it’s worn or damaged, replace it with a new one to ensure a proper seal when you reinstall the plug. Once you’ve inspected the washer, reinstall the drain plug. Tighten it by hand first, then snug it up with the socket wrench. If you have a torque wrench, aim for about 25 ft-lbs of torque to avoid overtightening, which can strip the threads on the oil pan.
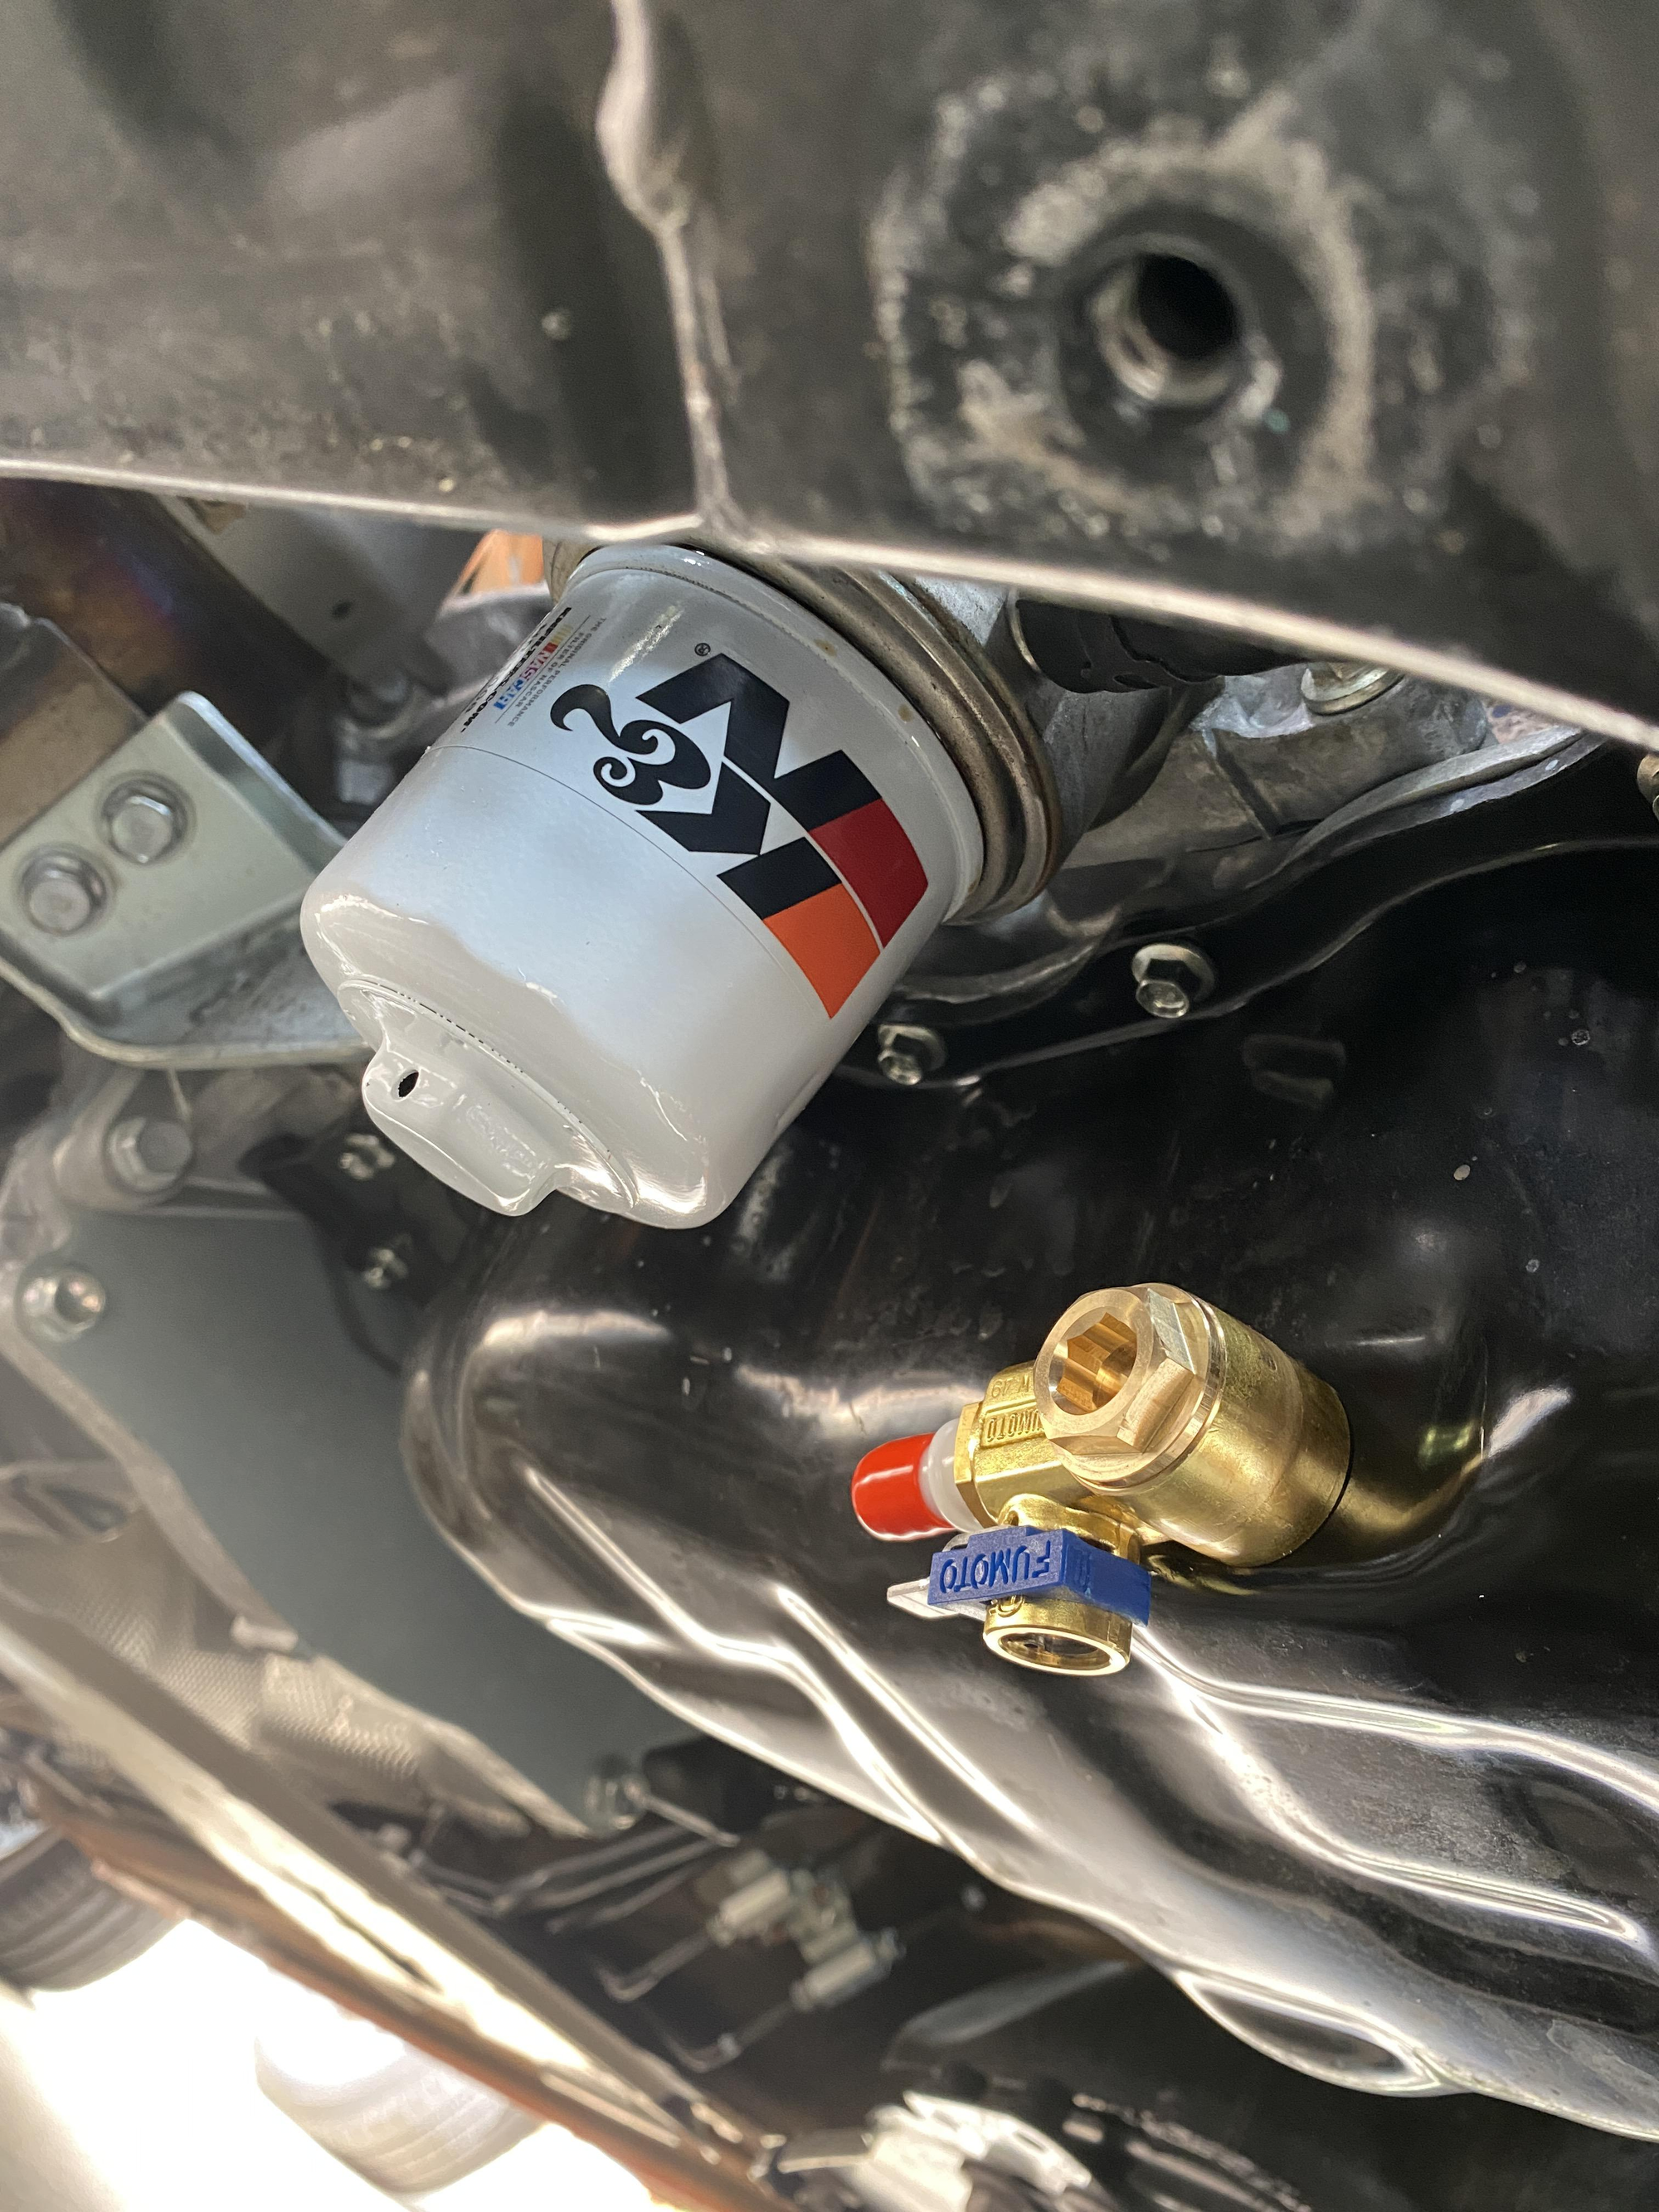
Step 4: Removing the Old Oil Filter
With the oil drained, the next step is to remove the old oil filter. The filter is located next to the oil pan and becomes visible once the splash shield is out of the way.
If the filter is hand-tight, it should come off easily by unscrewing it. However, if it’s stuck, use an oil filter wrench or large pliers to loosen it. Be prepared for some oil to spill when the filter is removed, and allow any remaining oil to drain into the pan. Once the filter is off, take a moment to wipe down the filter pedestal on the engine block. It’s important to make sure the rubber gasket from the old filter isn’t stuck to the engine. If the old gasket remains on the engine when you install the new filter, it could cause leaks.
Step 5: Installing the New Oil Filter
Before installing the new oil filter, dip your finger in some fresh oil and spread a thin layer around the filter’s rubber gasket. This helps prevent the gasket from binding and ensures a proper seal when you tighten the filter. While some people choose to pre-fill the oil filter with a small amount of fresh oil to avoid a “dry start,” this step is optional.
Screw the new filter onto the engine by hand. It should spin freely until the gasket makes contact with the engine block. Once it touches, give it an additional 1/4 to 1/2 turn by hand—there’s no need to overtighten the filter, as this will make it more difficult to remove during your next oil change.
Step 6: Refilling the Engine with Fresh Oil
Now that the old oil is out and the new filter is in place, it’s time to refill the engine with fresh oil. Insert your funnel into the oil filler neck at the top of the engine to avoid any spills. Slowly pour in about 3.5 quarts of 0W-20 synthetic oil, and then check the oil dipstick to monitor the level. Add more oil if needed, topping off until the dipstick shows the oil level is full. The ND Miata typically requires around 4.5 quarts in total. Once you’ve reached the right level, reinstall the oil cap and make sure it’s tightened securely.
Step 7: Checking for Leaks and Reassembly
Start the engine and let it idle for 30 to 60 seconds. This allows the oil to circulate and fill the new filter. While the engine is running, inspect the drain plug and oil filter to ensure there are no leaks. If you spot any leaks, tighten the components slightly and check again.
Once you’re confident that everything is sealed, it’s time to reattach the splash shield. Position the shield back under the car and use the bolts you removed earlier to secure it in place. Start each bolt by hand to avoid cross-threading, then snug them down with the 12mm socket.
Step 8: Resetting the Oil Change Reminder
To complete the job, you’ll want to reset the oil change reminder in your Miata’s infotainment system. Navigate to Applications > Vehicle Status Monitor > Maintenance > Oil Change. Select “Reset” to clear the reminder, ensuring your maintenance log is up to date.
Step 9: Final Oil Check and Lowering the Car
After letting the engine idle and checking for leaks, shut it off and perform one last oil check using the dipstick. Make sure the oil level is where it needs to be, adding more oil if necessary to bring it to the “Full” mark. With that done, you can safely lower the car using the jack and remove the jack stands or ramps. Ensure the car is securely on the ground before driving off.
Congratulations! You’ve successfully completed an oil change on your ND Miata. By following this guide, you’ve saved time, money, and learned more about maintaining your vehicle. Don’t forget to properly dispose of the old oil and filter at a designated recycling center.
If you found this guide helpful, be sure to share it with other Miata enthusiasts!


