
NC Miata Oil Change: How to Do It Yourself Like a Pro
If you’re the proud owner of an NC Miata, keeping your car in top shape through regular maintenance is essential. One of the simplest yet most important tasks you can do yourself is changing the oil. This guide will walk you through the oil change process in a clear, step-by-step manner, so you can

If you’re the proud owner of an NC Miata, keeping your car in top shape through regular maintenance is essential. One of the simplest yet most important tasks you can do yourself is changing the oil. This guide will walk you through the oil change process in a clear, step-by-step manner, so you can complete it with ease, whether you’re a seasoned DIYer or tackling this job for the first time. Regular oil changes not only extend your engine’s life but also improve overall performance. Let’s dive into how to do it!
Tools and Supplies
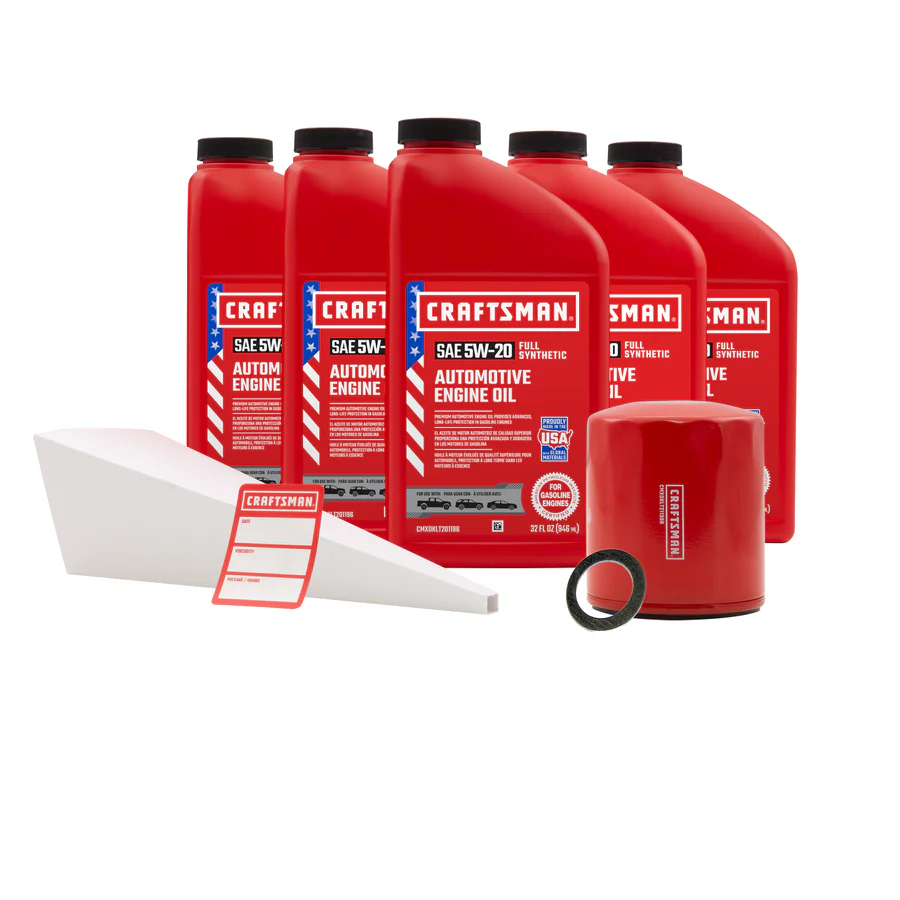
Before you get started, it’s crucial to gather all the necessary tools and supplies for the job. Here’s what you’ll need: a 17mm wrench or socket set to remove the oil drain plug, an oil filter wrench to loosen the oil filter, 5 quarts of oil (typically 5W-20, but always check your owner’s manual for confirmation), and a preferred oil filter, such as the Fram PH3614, which fits many NC Miata models. You’ll also need a large ziplock or grocery bag to prevent spills, an oil drain receptacle that can hold at least 5 quarts of used oil, a funnel for adding new oil, and a new crush washer to ensure a proper seal on the drain plug.
Additionally, you’ll need a jack and jack stands or ramps to safely lift your car, cardboard or old rags to protect your workspace from spills, and gloves and rags for cleanliness and safety. Having all these items ready in advance will make the entire process smooth and efficient.
Step 1: Prepare Your Car
To begin the oil change, you need to elevate your NC Miata so you can access the oil pan and filter underneath the car. If you’re using jack stands, ensure the car is parked on a flat surface and the parking brake is engaged. Placing wheel chocks behind the rear tires adds an extra layer of safety to prevent any movement. Alternatively, ramps are a great option if you prefer them over jack stands.
Once your car is securely elevated, place cardboard or old rags beneath the car to catch any accidental spills. For the best results, it’s a good idea to warm up the car for a few minutes before starting the oil change. Warm oil flows more easily, which will make the draining process quicker. However, be careful not to let the engine get too hot.

Step 2: Remove the Oil Filler Cap
With the car elevated, pop the hood and locate the oil filler cap, which is typically found on the passenger side of the engine. Removing the oil filler cap before draining the oil is important because it allows air to flow through the engine, helping the oil to drain faster and more smoothly. Once the cap is off, place it somewhere safe where it won’t get lost or accidentally fall into the engine bay.
Step 3: Drain the Oil
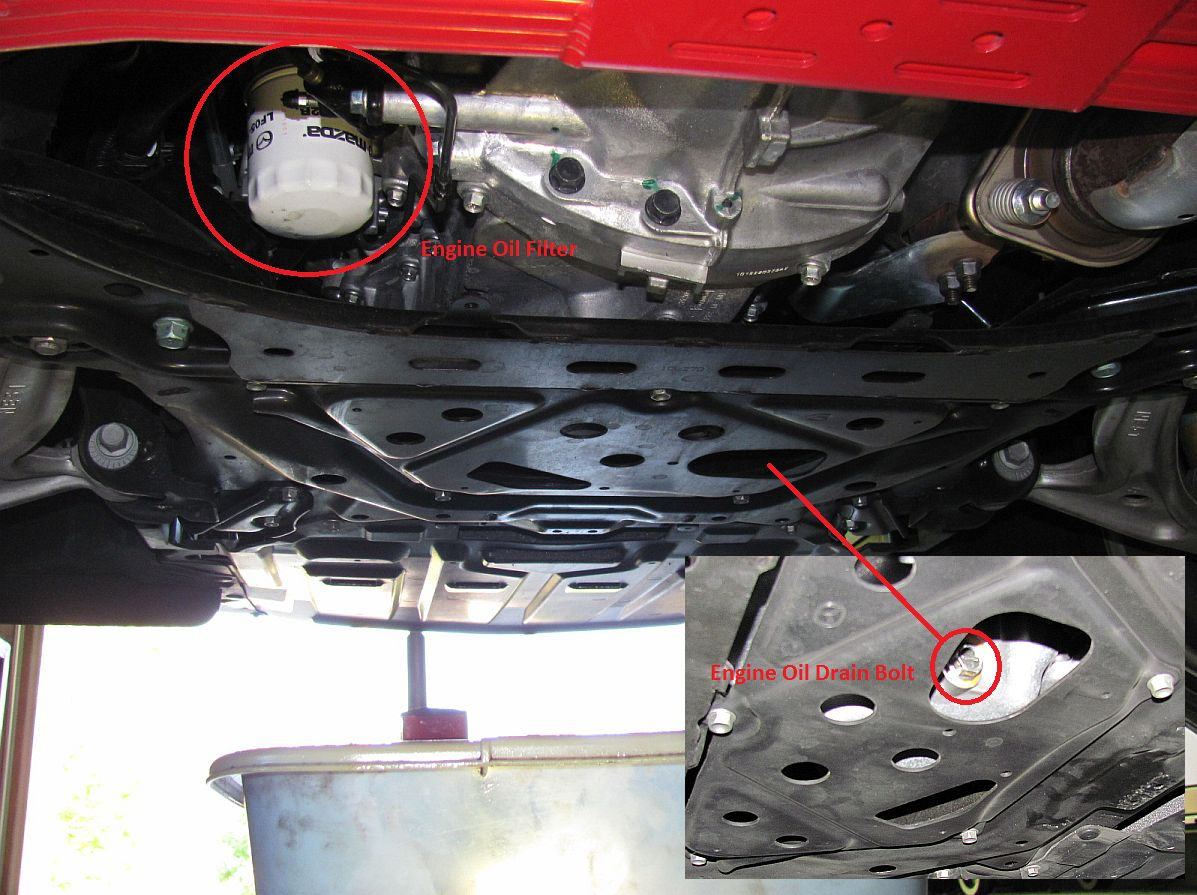
Now comes the main part of the job—draining the old oil from the engine. Crawl under the car and locate the oil drain plug, a 17mm bolt on the bottom of the oil pan. Position your oil drain receptacle directly underneath the drain plug to catch the used oil. Using a 17mm wrench, loosen the drain plug by turning it counterclockwise. Once it’s loose, you can unscrew it by hand, but be ready for the oil to start flowing out immediately. Allow the oil to drain completely into the receptacle, which may take a few minutes.
As the oil drains, check it for any unusual particles or metallic shavings. While dark oil is normal for a used engine, metallic particles could indicate internal engine wear, which is something to keep an eye on. Also, be sure to wear gloves during this step to protect your hands from hot oil.
Step 4: Clean and Reinstall the Drain Plug
After the oil has finished draining, it’s time to clean and reinstall the drain plug. Remove the plug from the oil receptacle, wipe it clean with a rag, and inspect it for any damage or wear. It’s essential to replace the crush washer on the drain plug with a new one to ensure a proper seal and prevent leaks. Hand-tighten the drain plug back into the oil pan to avoid cross-threading, then use your wrench to torque it to about 25 foot-pounds, ensuring it’s secure but not overtightened.
Step 5: Remove and Replace the Oil Filter
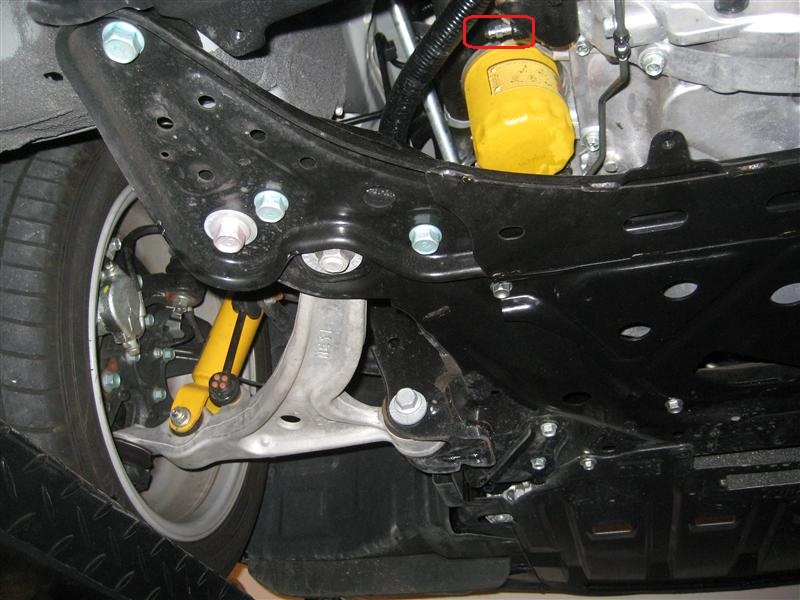
With the oil drained, your next task is to remove the old oil filter. The oil filter is located on the driver’s side of the engine and can be accessed from underneath the car or through the driver’s side wheel well. Before removing it, place a ziplock or grocery bag underneath the filter to catch any oil that spills out.
Using your oil filter wrench, loosen the filter, then unscrew it by hand. Be careful not to spill oil onto the car’s frame. When you remove the filter, make sure the rubber gasket comes off with it; if it’s stuck to the filter housing, gently remove it. Take your new oil filter and apply a small amount of fresh oil to the rubber gasket before installing it. This helps create a good seal. Screw the new filter on by hand and tighten it securely, but don’t overtighten—just hand-tight and an additional ¼ to ½ turn should do the trick.
Step 6: Add New Oil
Now that you’ve replaced the filter and the drain plug is secure, it’s time to add new oil. Insert a funnel into the oil filler opening at the top of the engine. Slowly pour in about 4.5 quarts of your preferred oil (5W-20 synthetic is commonly recommended for NC Miatas). Pour the oil gradually to give it time to flow into the engine. After adding the oil, remove the funnel and replace the oil filler cap.

Step 7: Start the Engine and Check for Leaks
With the new oil in the engine, start the car and let it run for a minute or two. This allows the oil to circulate through the engine. Keep an eye on the oil pressure warning light on the dashboard—it should turn off after a few seconds. If it stays on, there could be an issue with the oil pressure or the oil level, which you’ll need to address. While the engine is running, check underneath the car for any leaks, particularly around the oil filter and drain plug.
Step 8: Check the Oil Level
After running the engine for a few minutes, turn off the car and let it sit for a while so the oil can settle. Pull out the oil dipstick, wipe it clean, and then reinsert it fully. When you pull it out again, check the oil level, which should be between the minimum and maximum marks. If the level is below the full mark, add a bit more oil and recheck. Be cautious not to overfill the engine, as too much oil can cause problems.
Step 9: Dispose of Used Oil
The last step in your DIY oil change is disposing of the used oil. Pour the oil from your drain receptacle into a sealed container, like an empty oil jug or plastic bottle. Most auto parts stores, such as AutoZone or O’Reilly, accept used oil for recycling. Never pour oil down the drain or throw it in the trash—recycling used oil is better for the environment and the law.
Performing an oil change on your NC Miata is a simple and cost-effective way to keep your engine in great condition. Whether you’re new to DIY car maintenance or an experienced home mechanic, following these steps will help you get the job done efficiently. Regular oil changes are crucial for your Miata’s performance and longevity, so make sure to change the oil every 5,000 miles or as recommended in your owner’s manual. With a little practice, you’ll master this essential task and enjoy the satisfaction of maintaining your Miata’s engine health yourself.


